Overview
Something this cute should be illegal. I saw this on https://keyhive.xyz and picked up one up.

Build Log
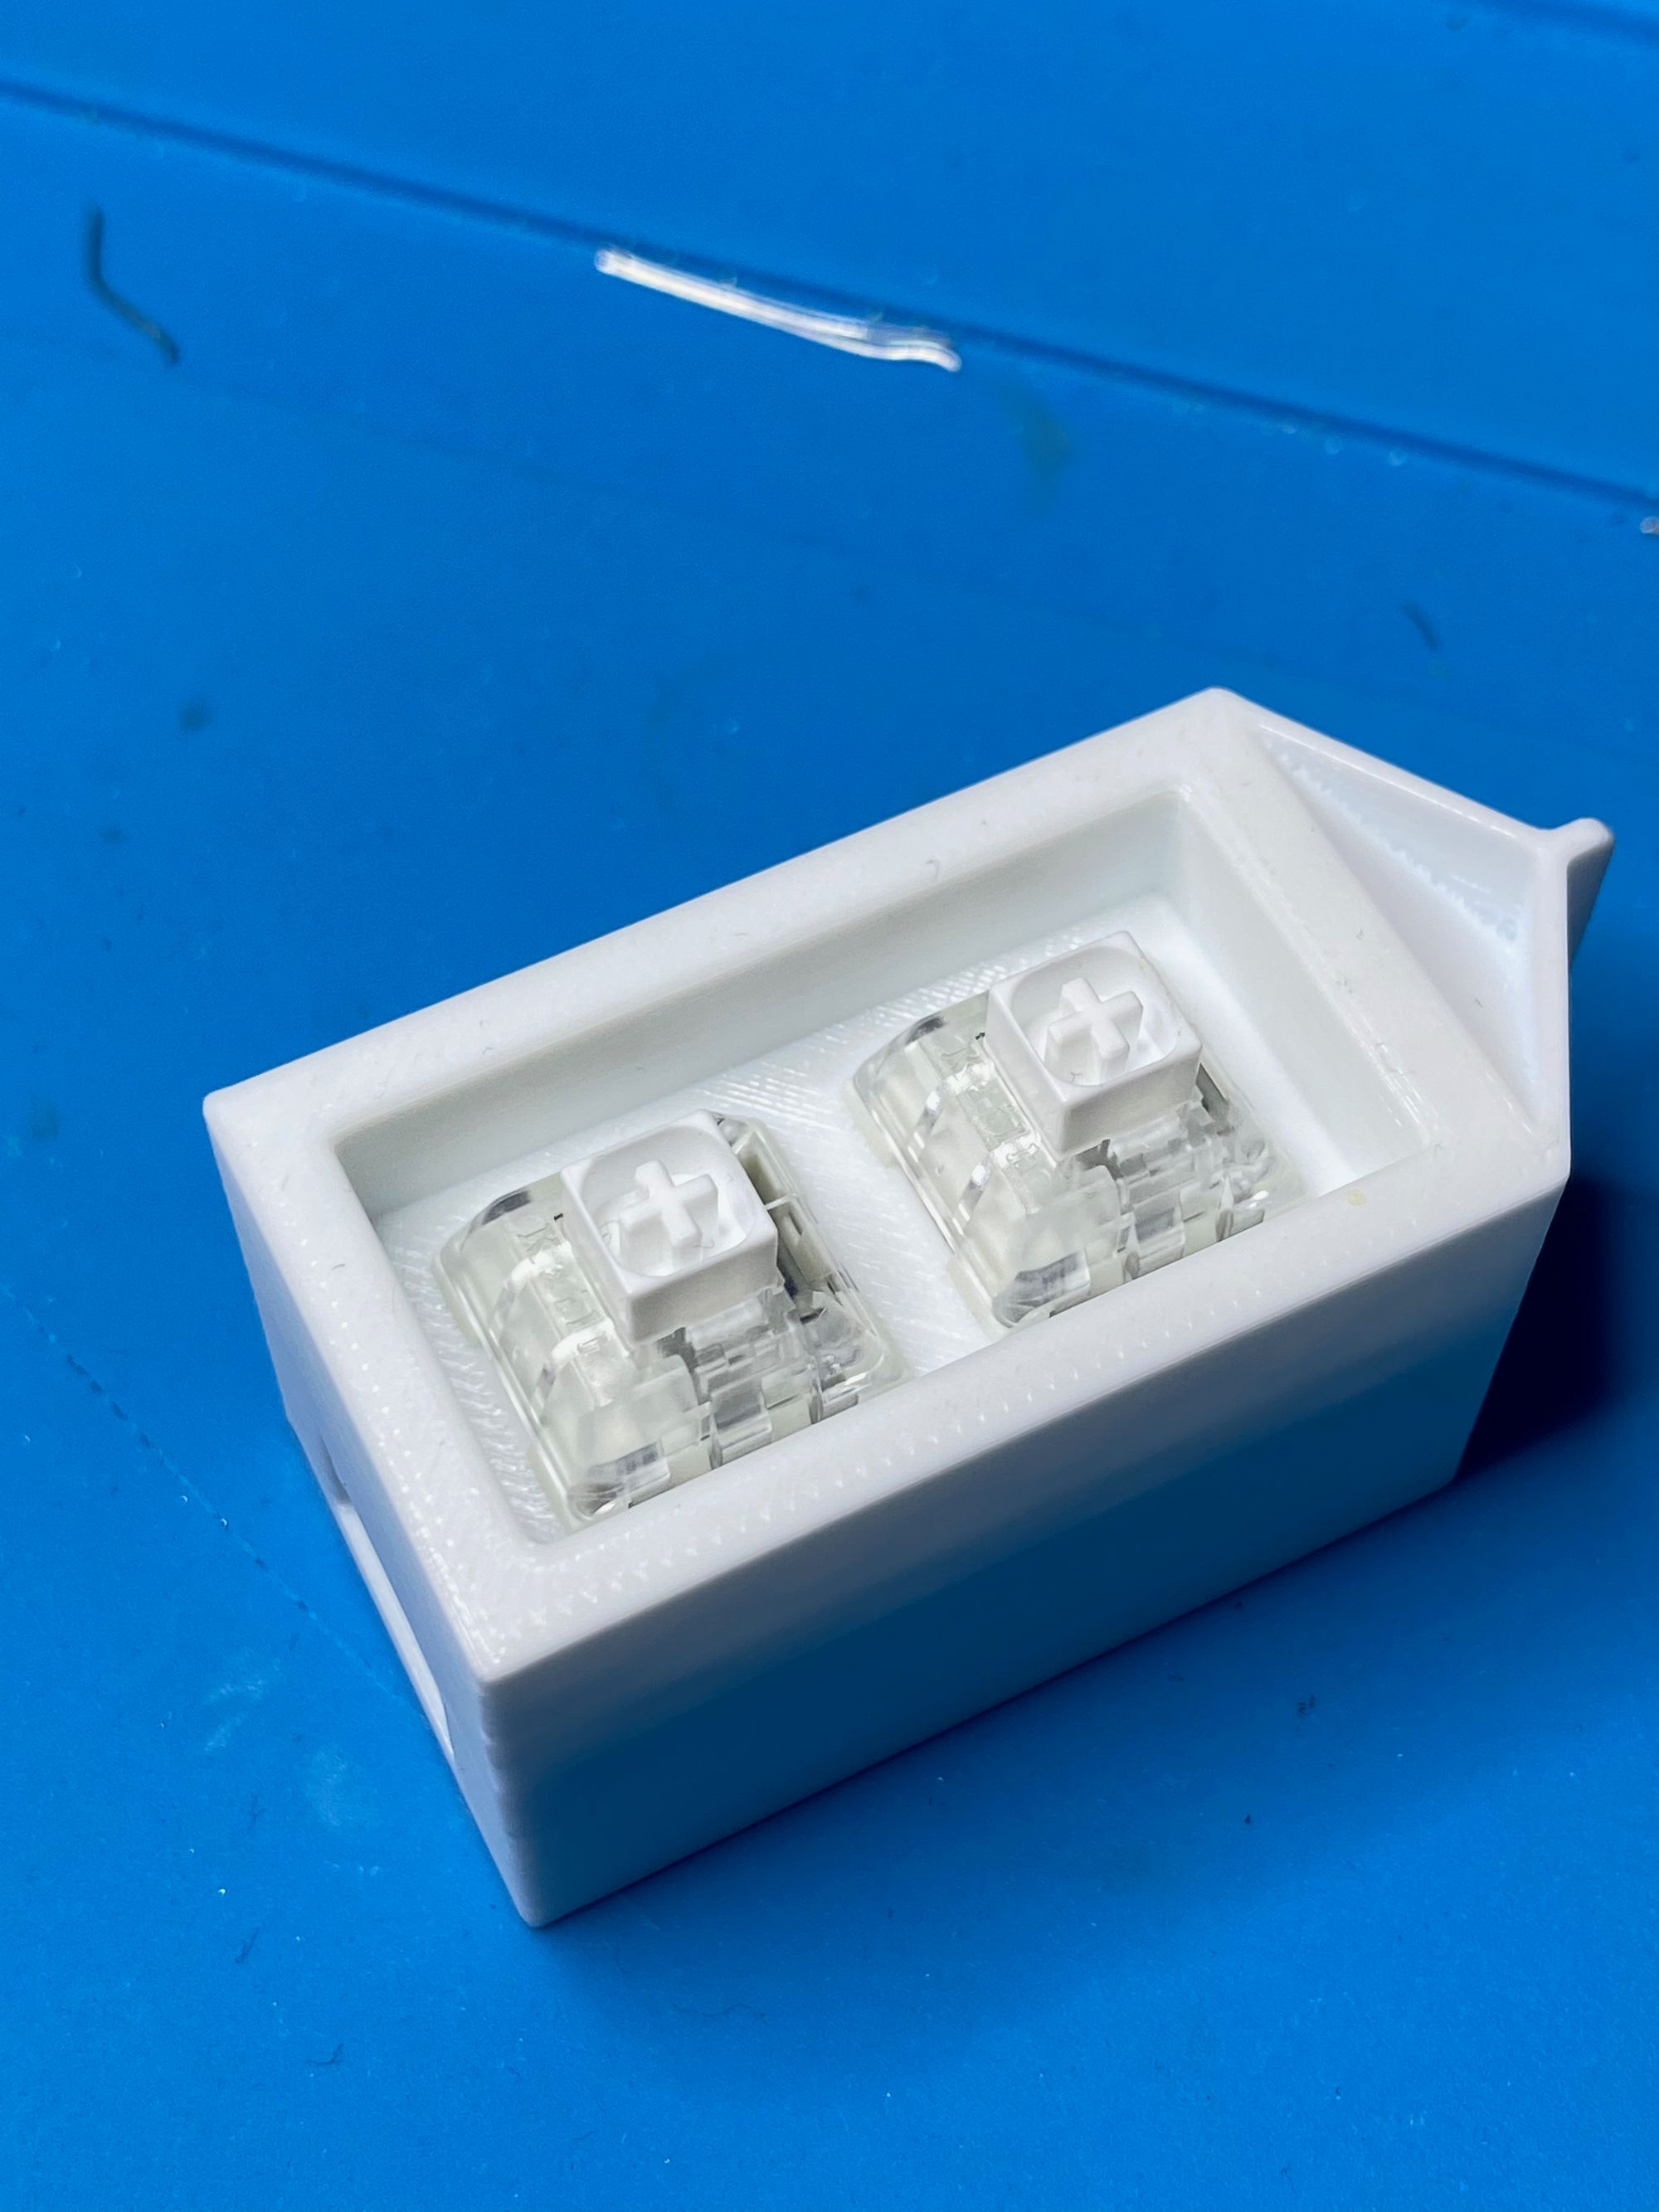
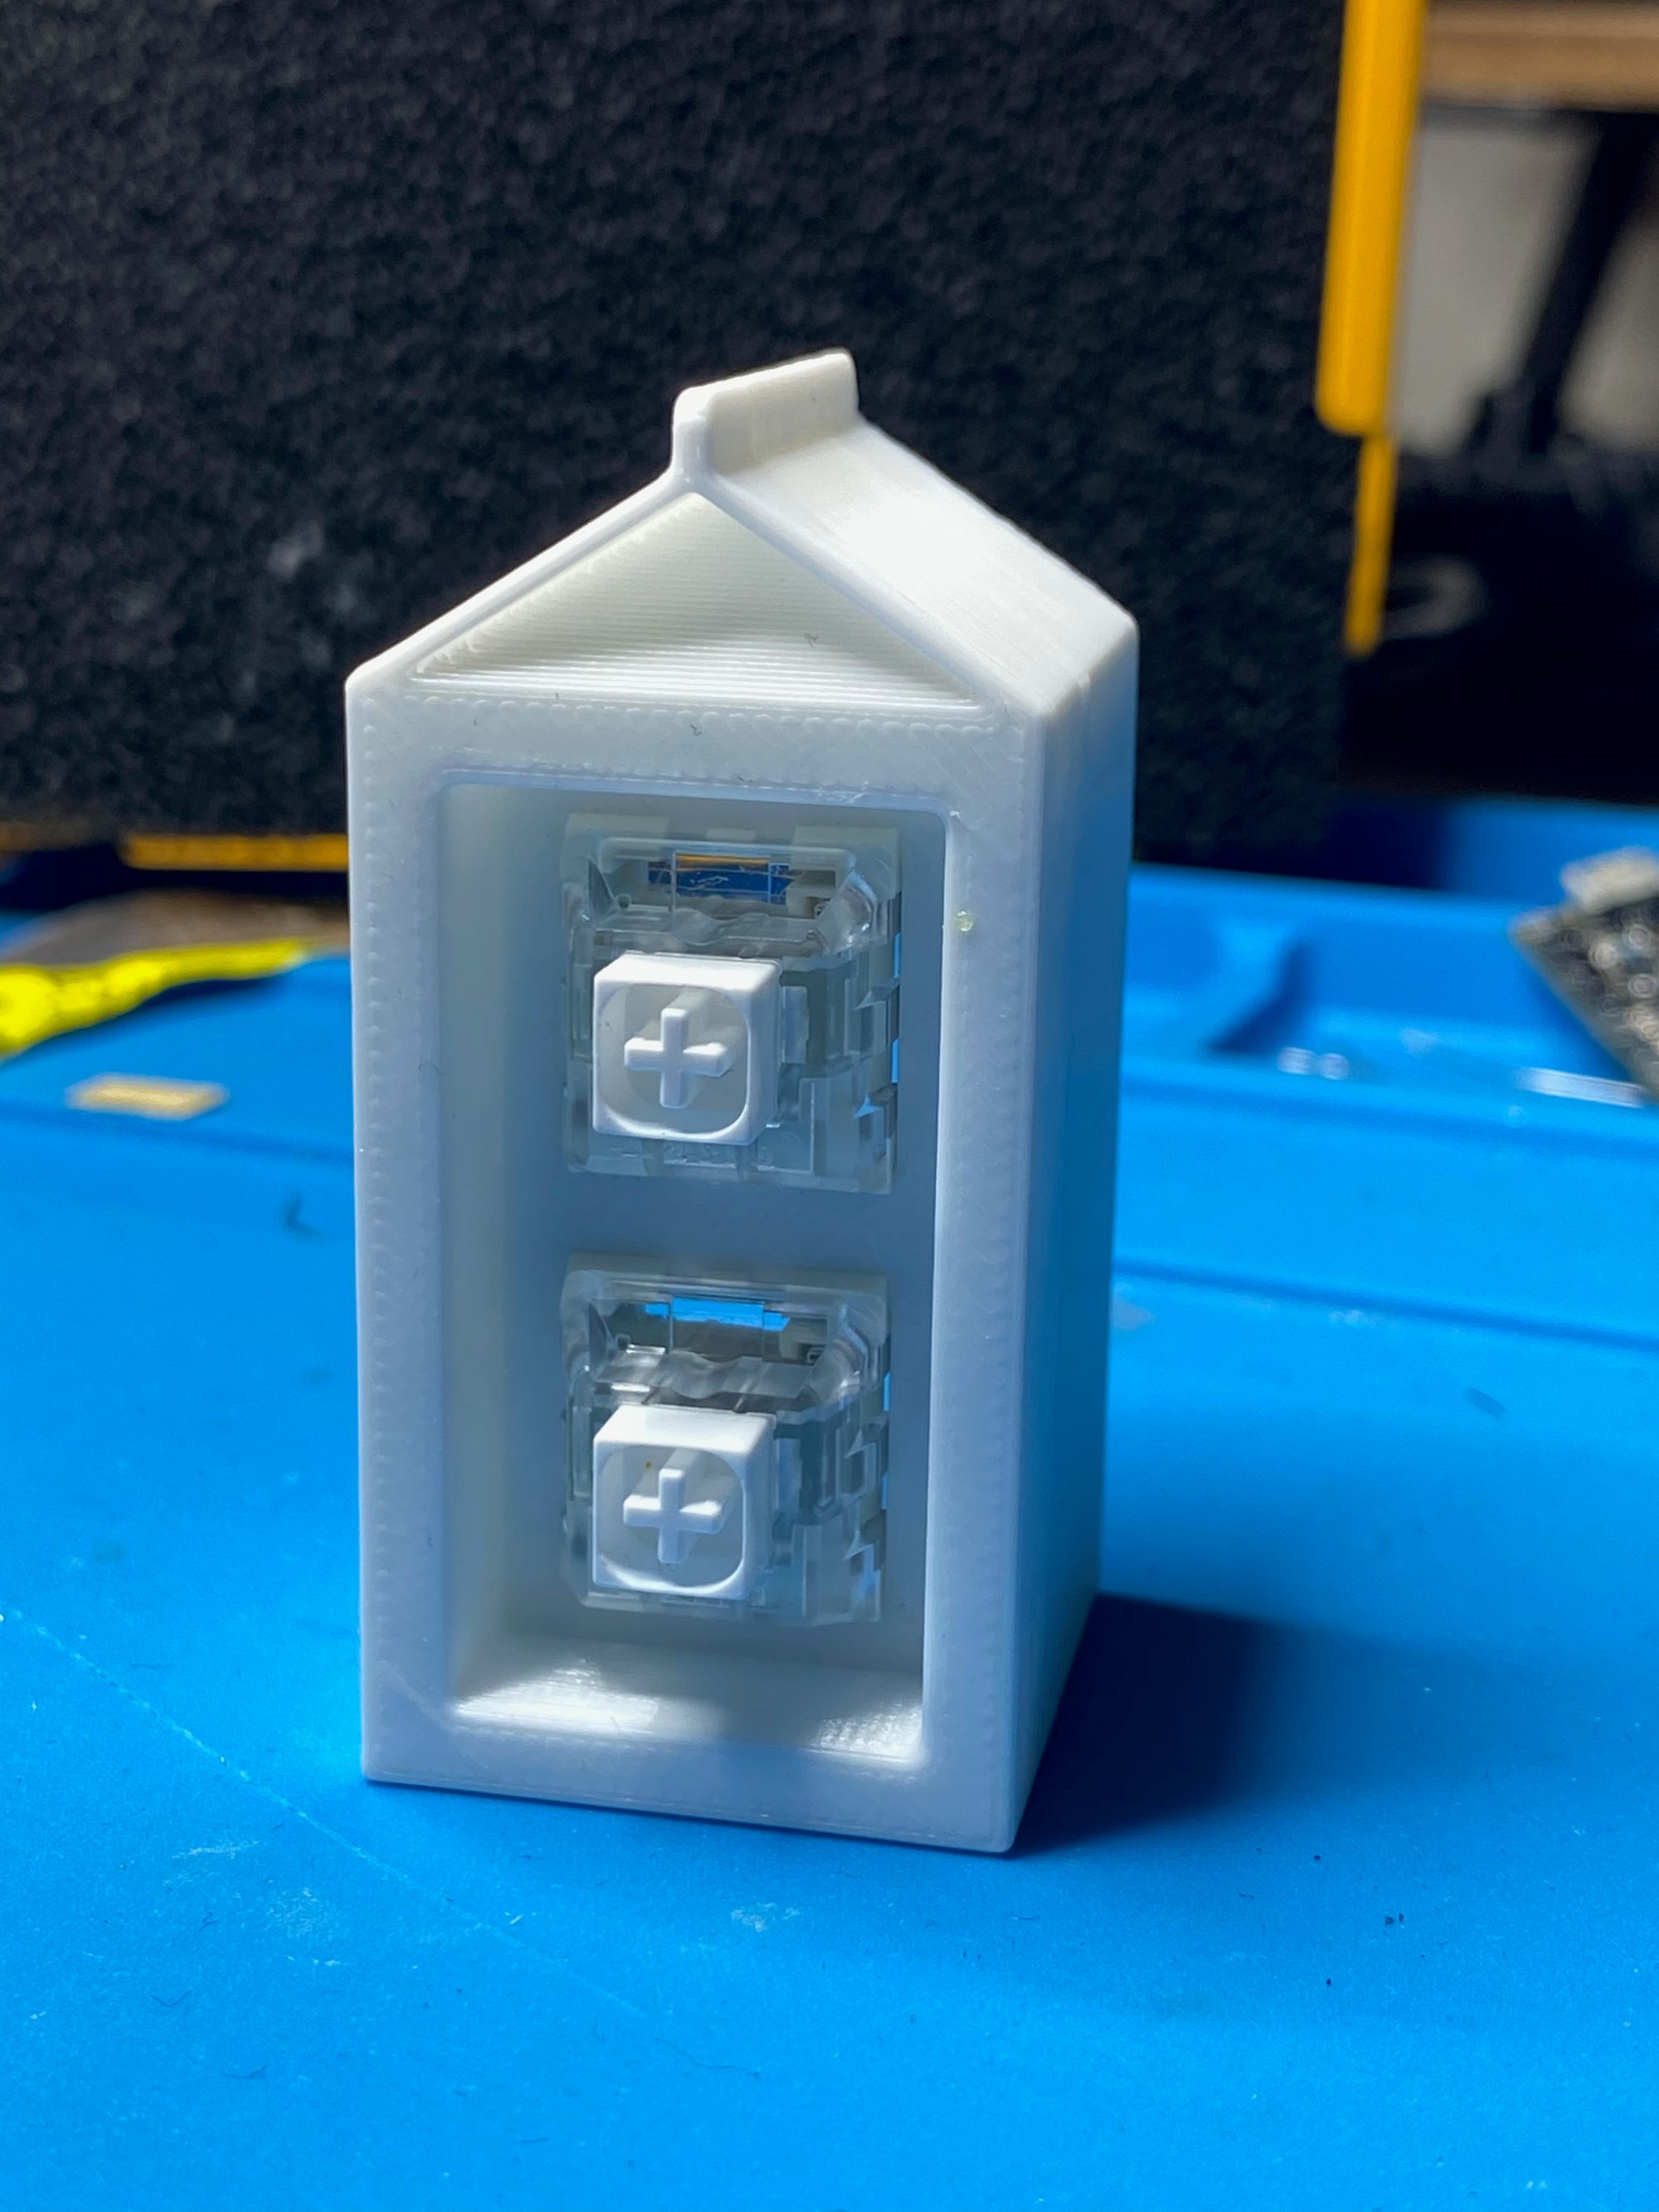
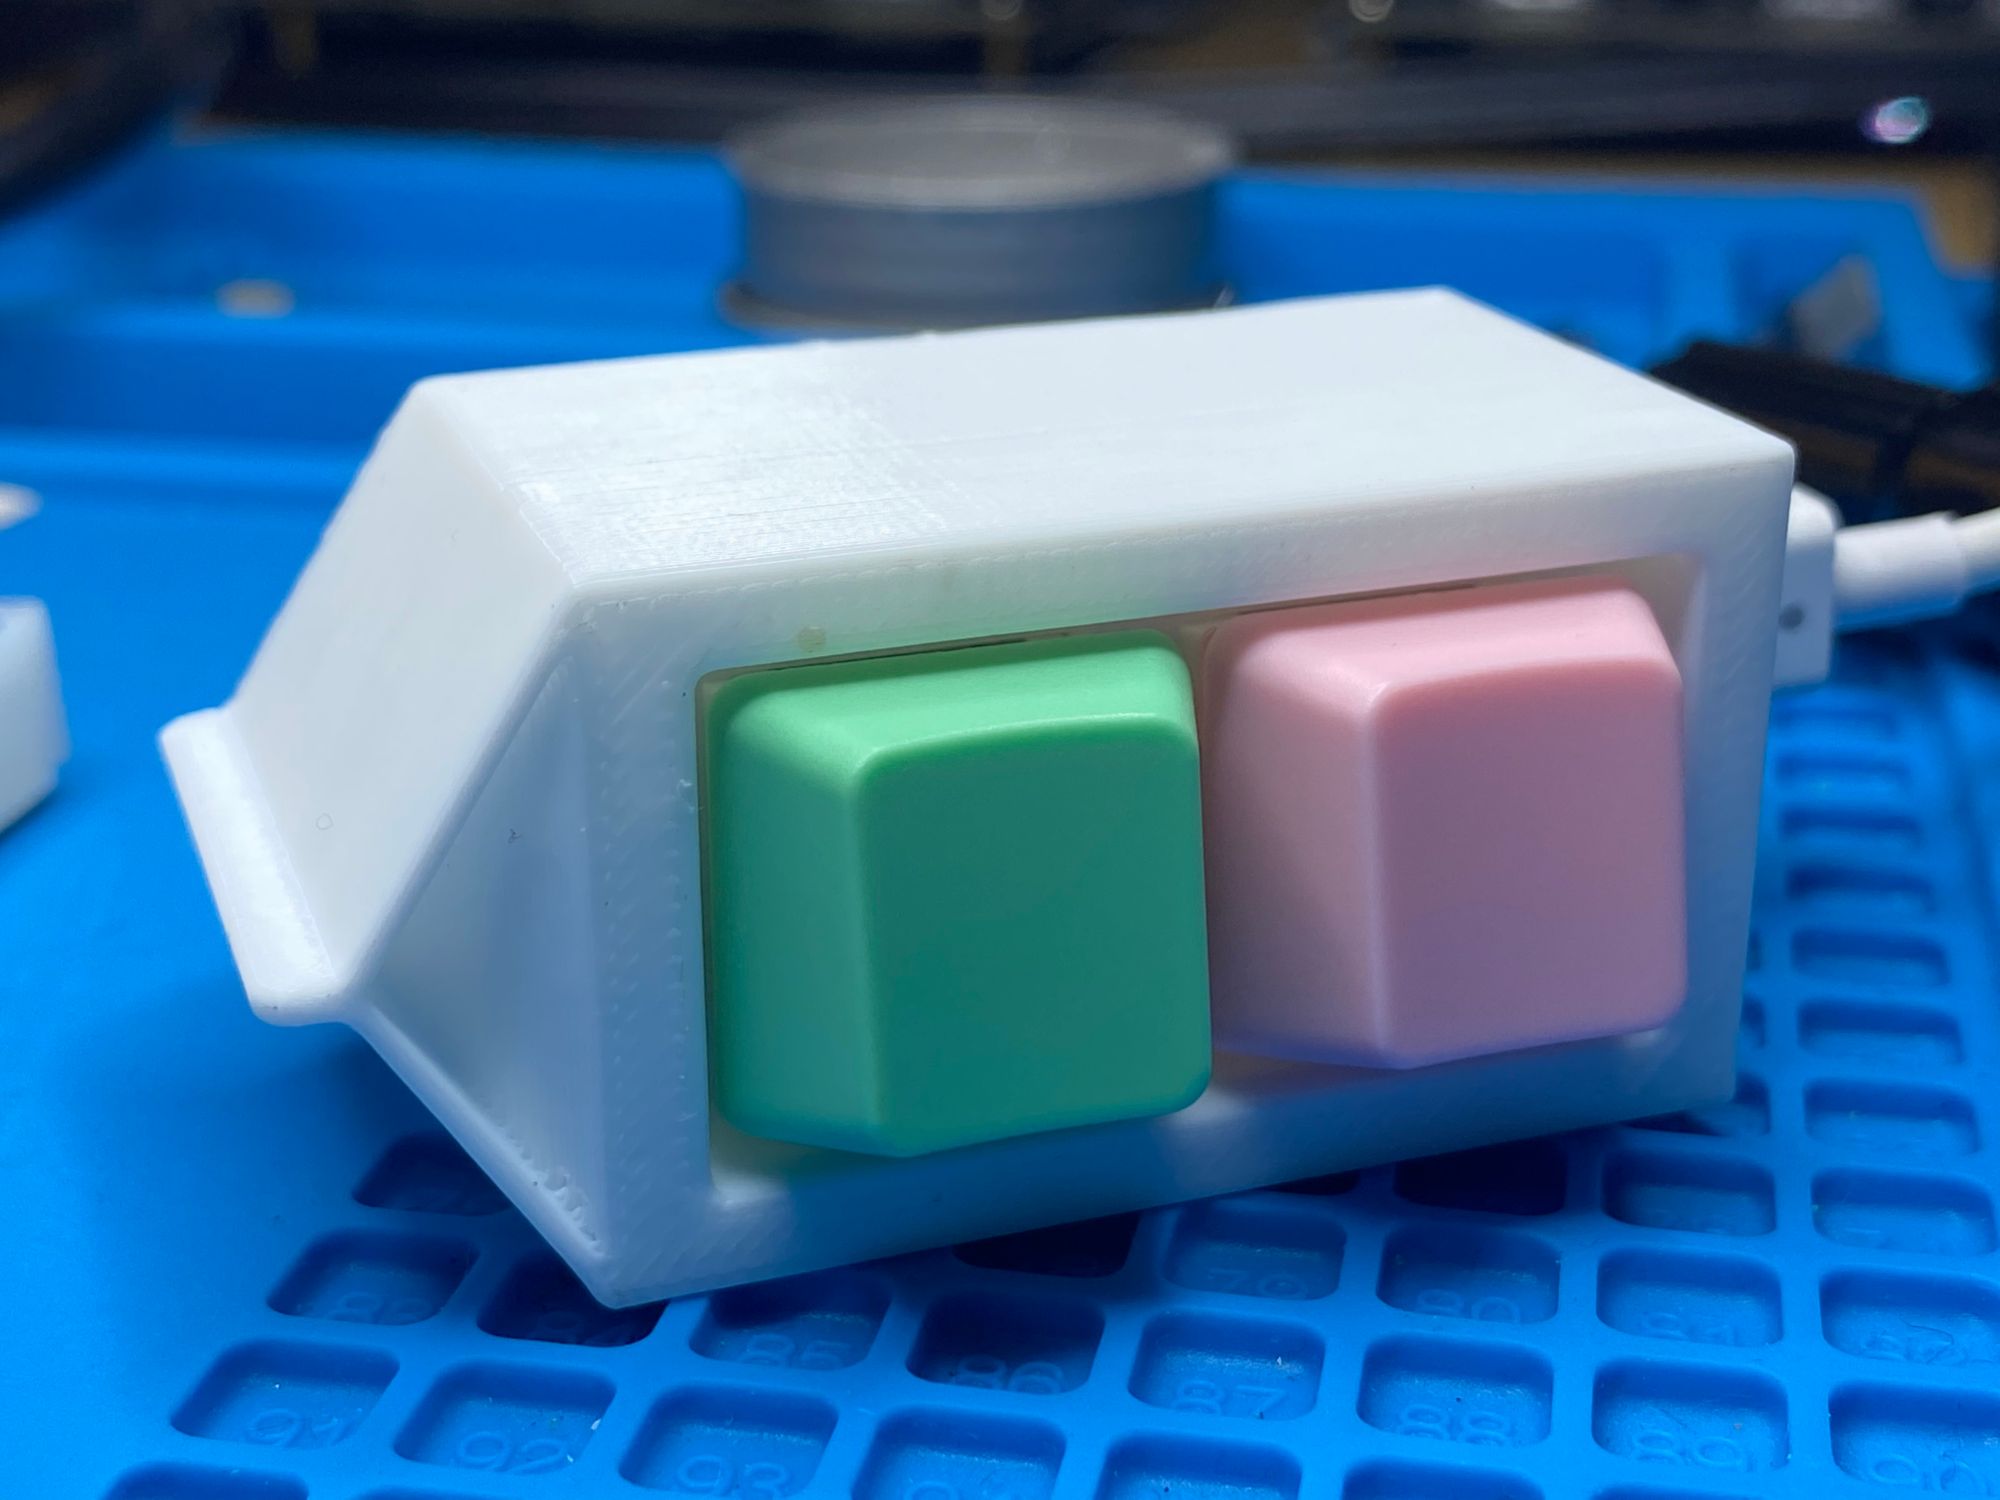
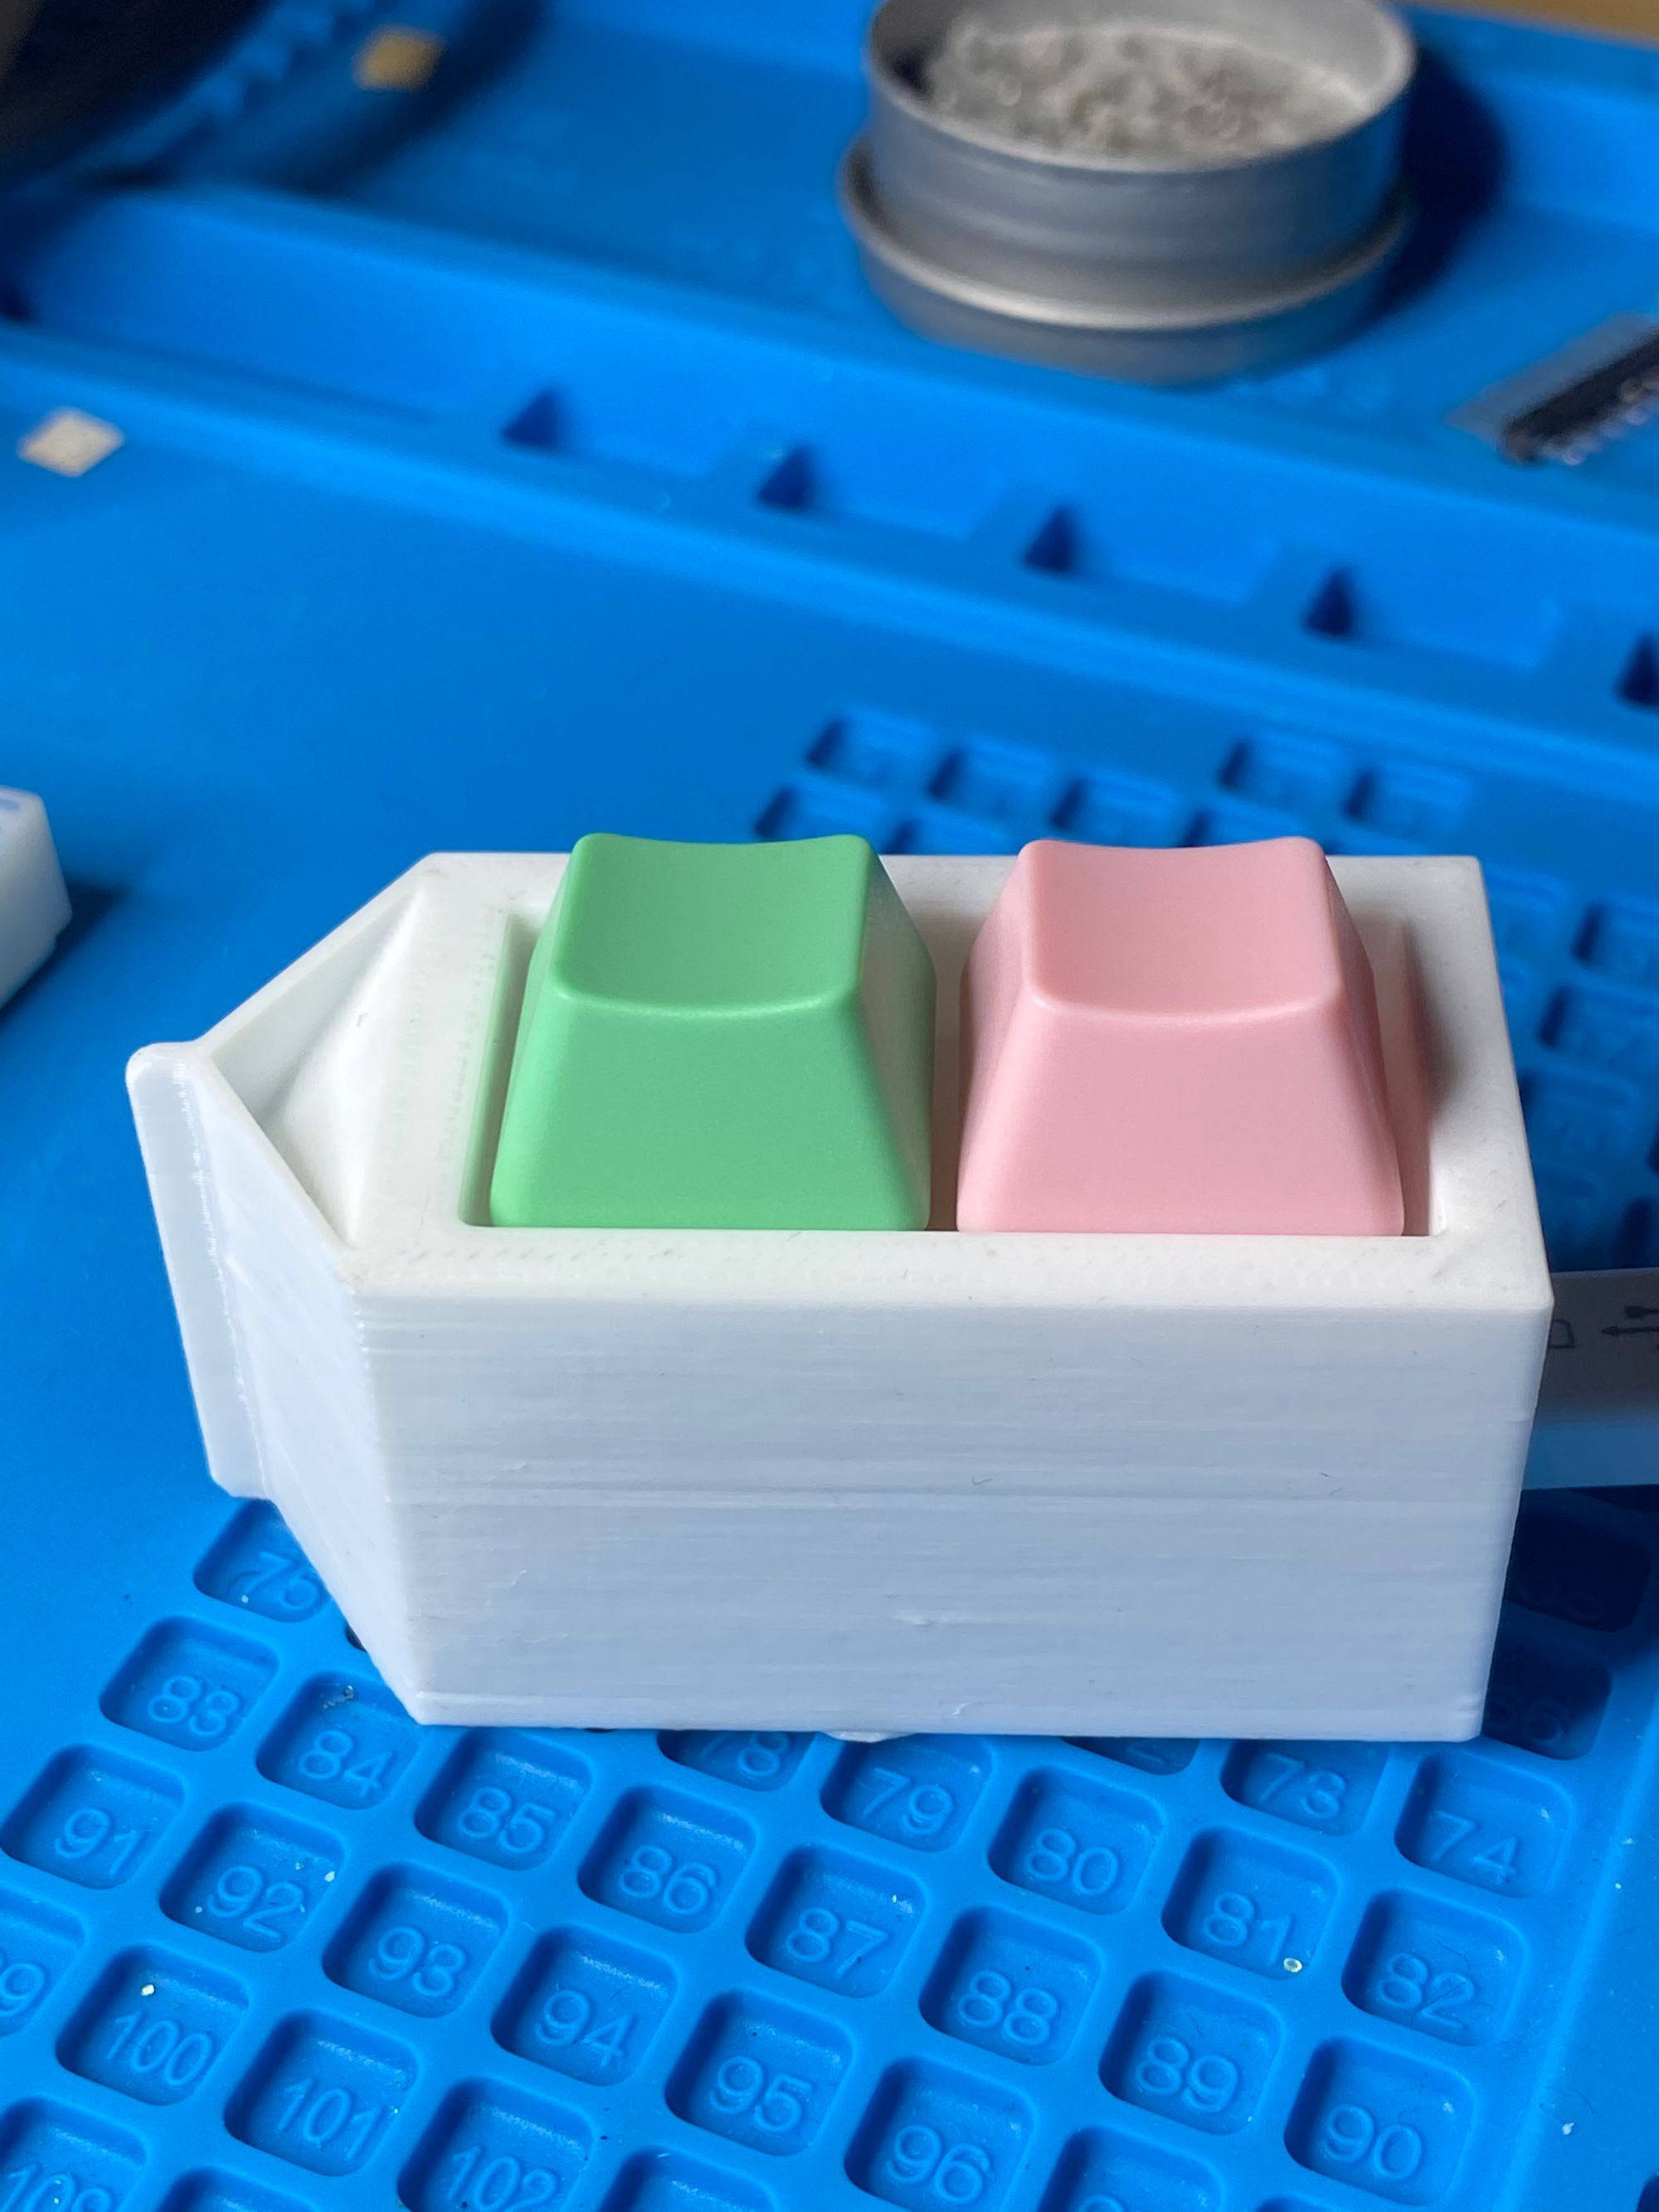
First thing I did was place the switches into the case.
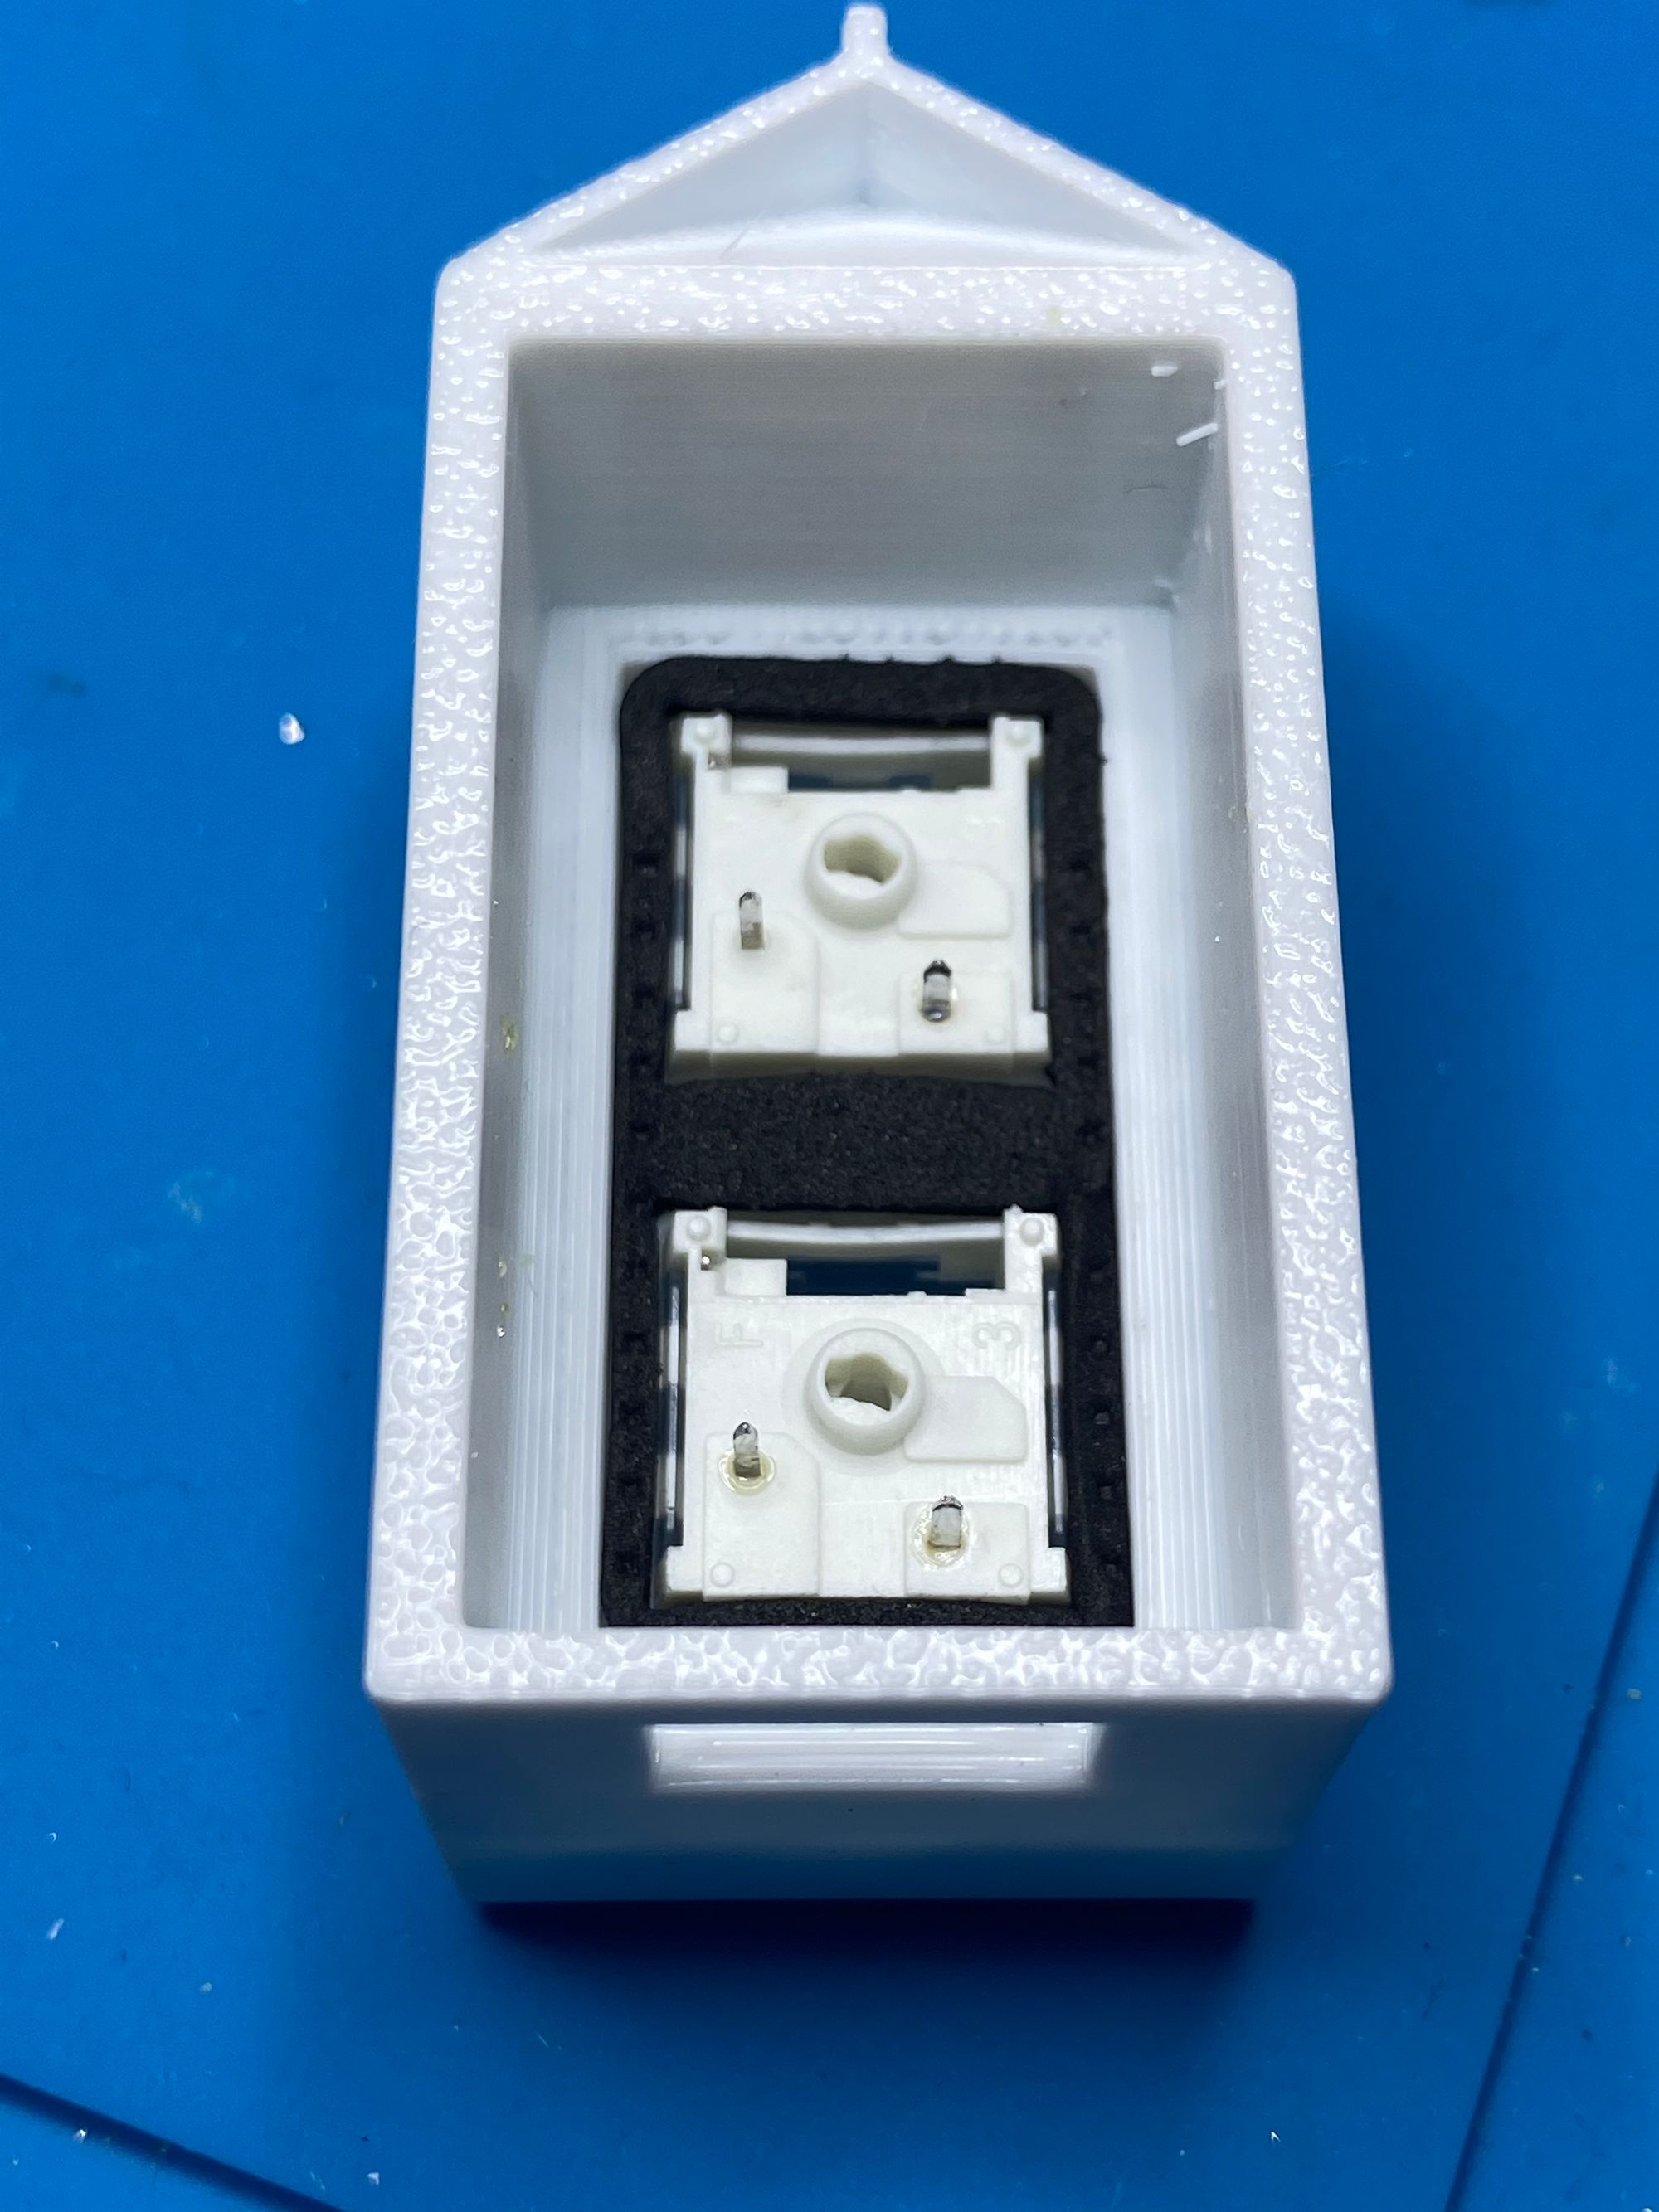
Next I placed the dampening foam into the case. The foam seems like practical joke for this little guy... but in it goes.
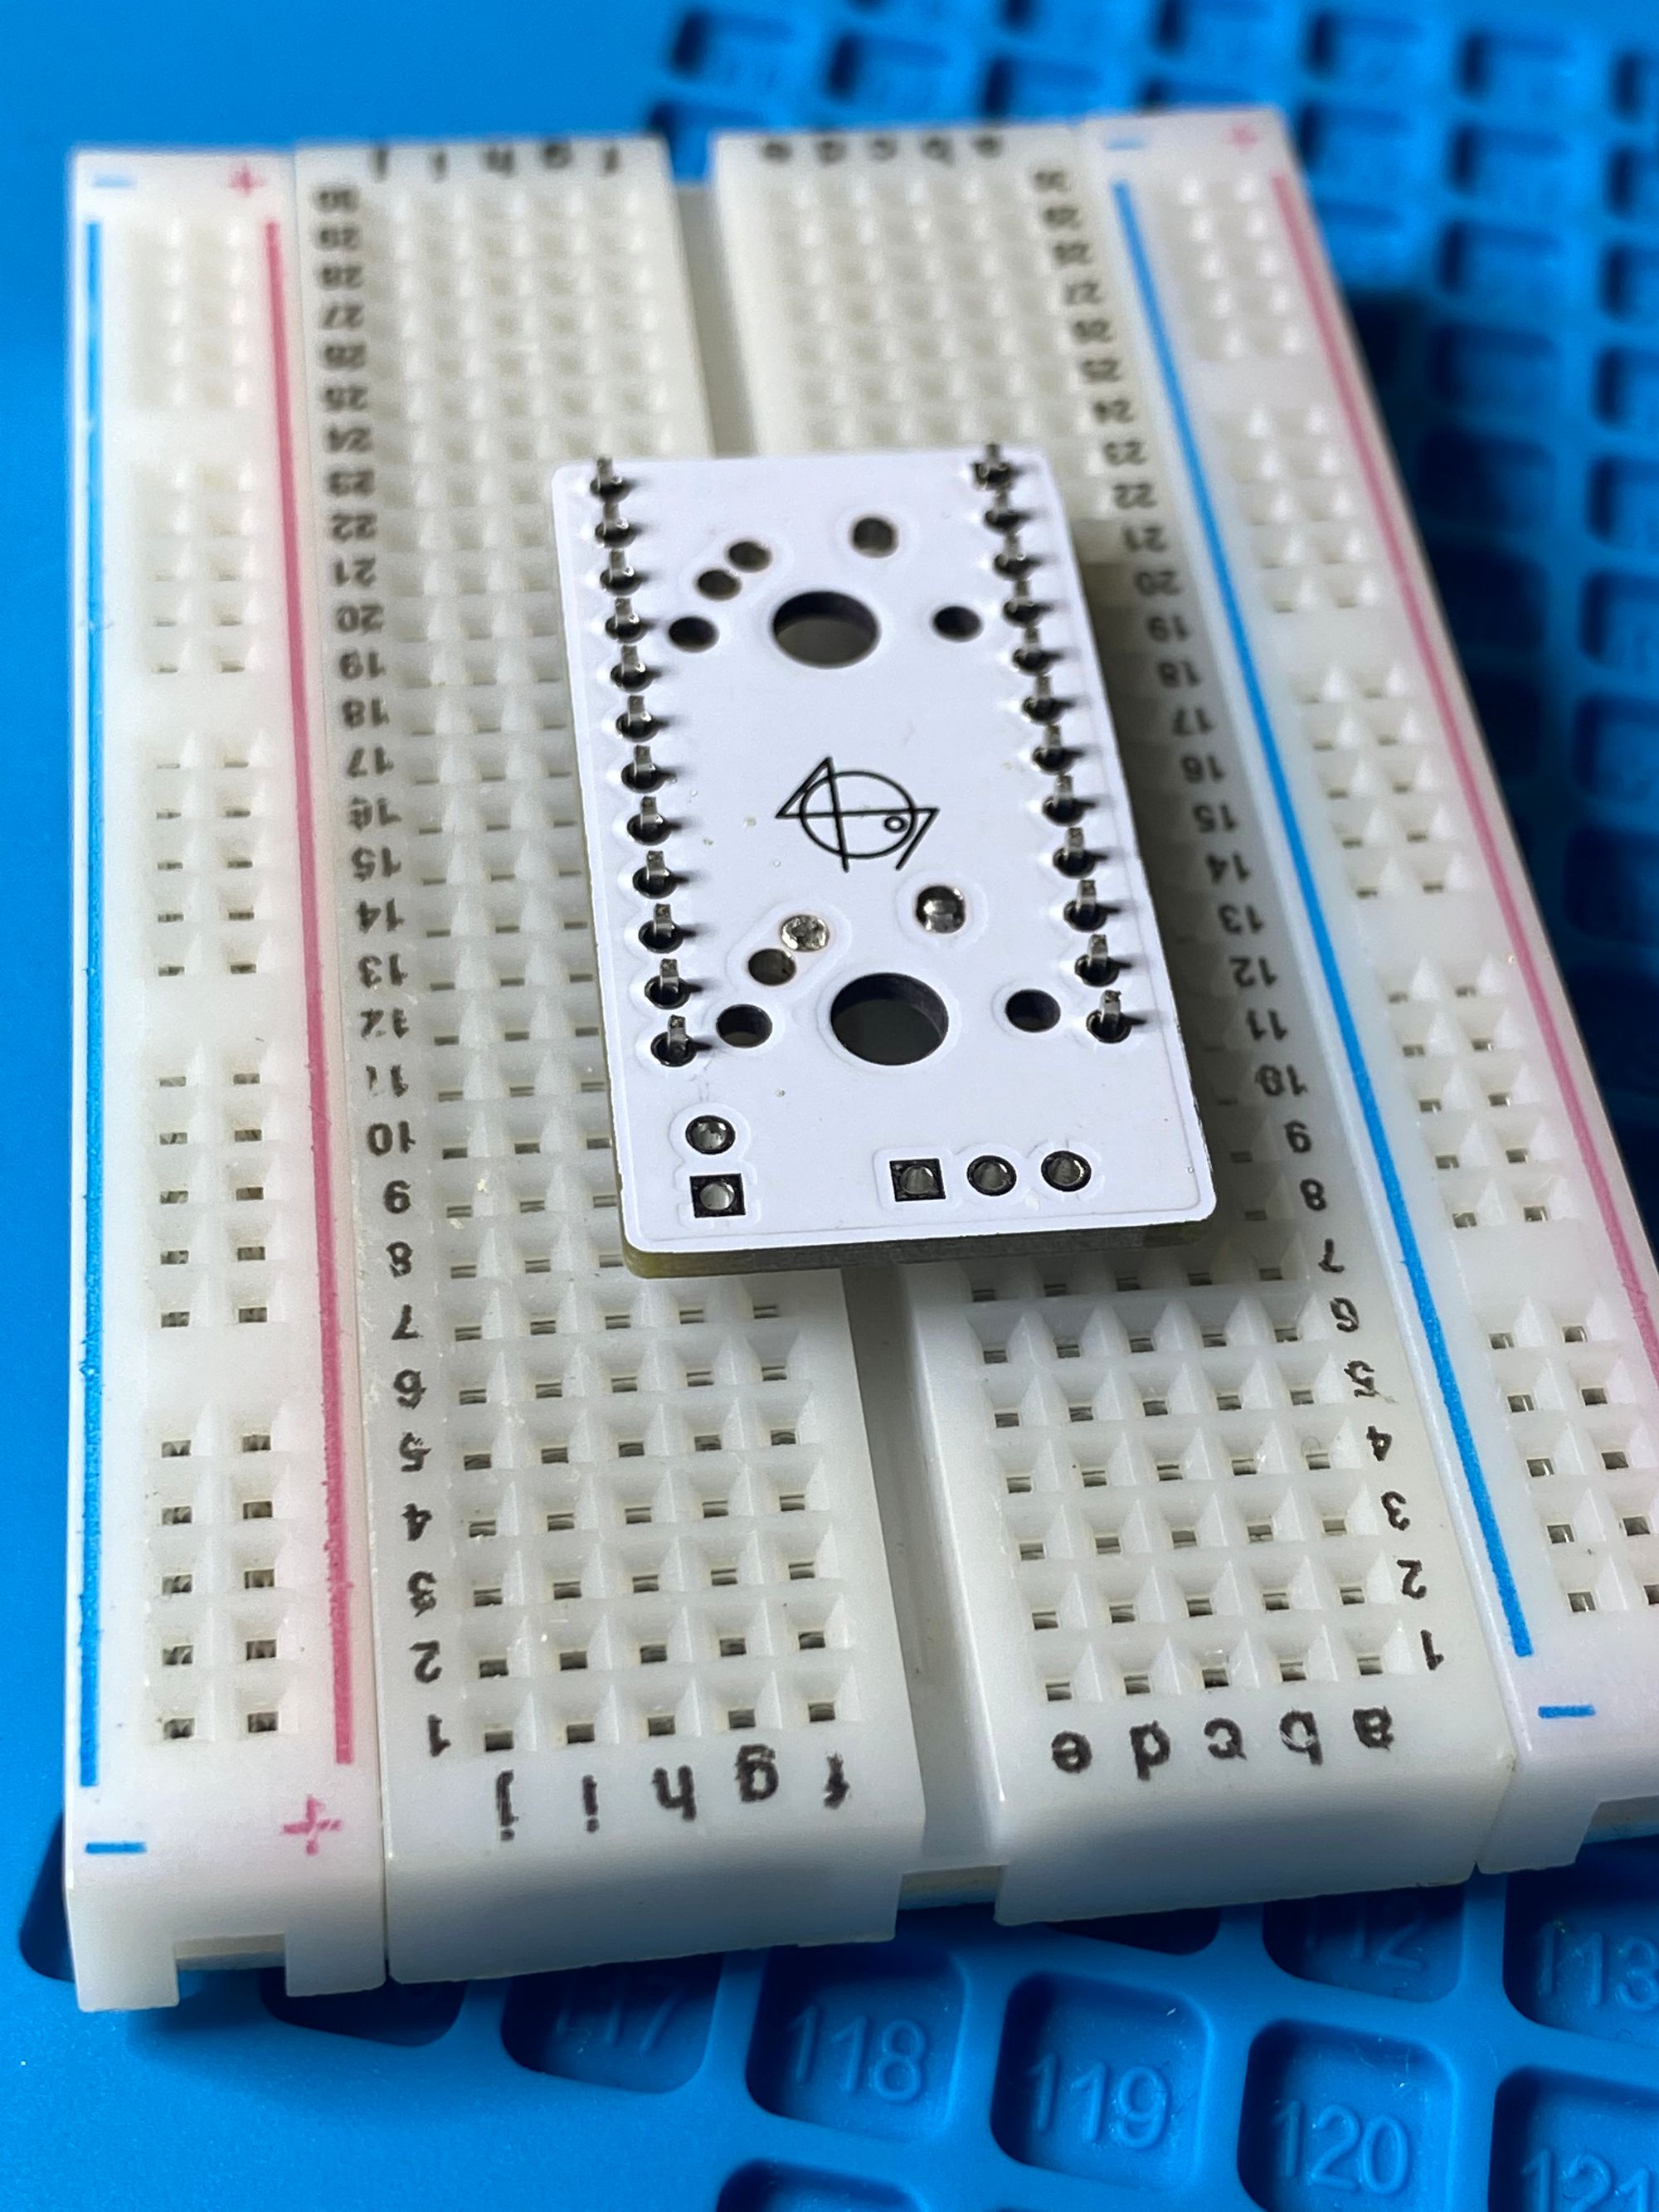
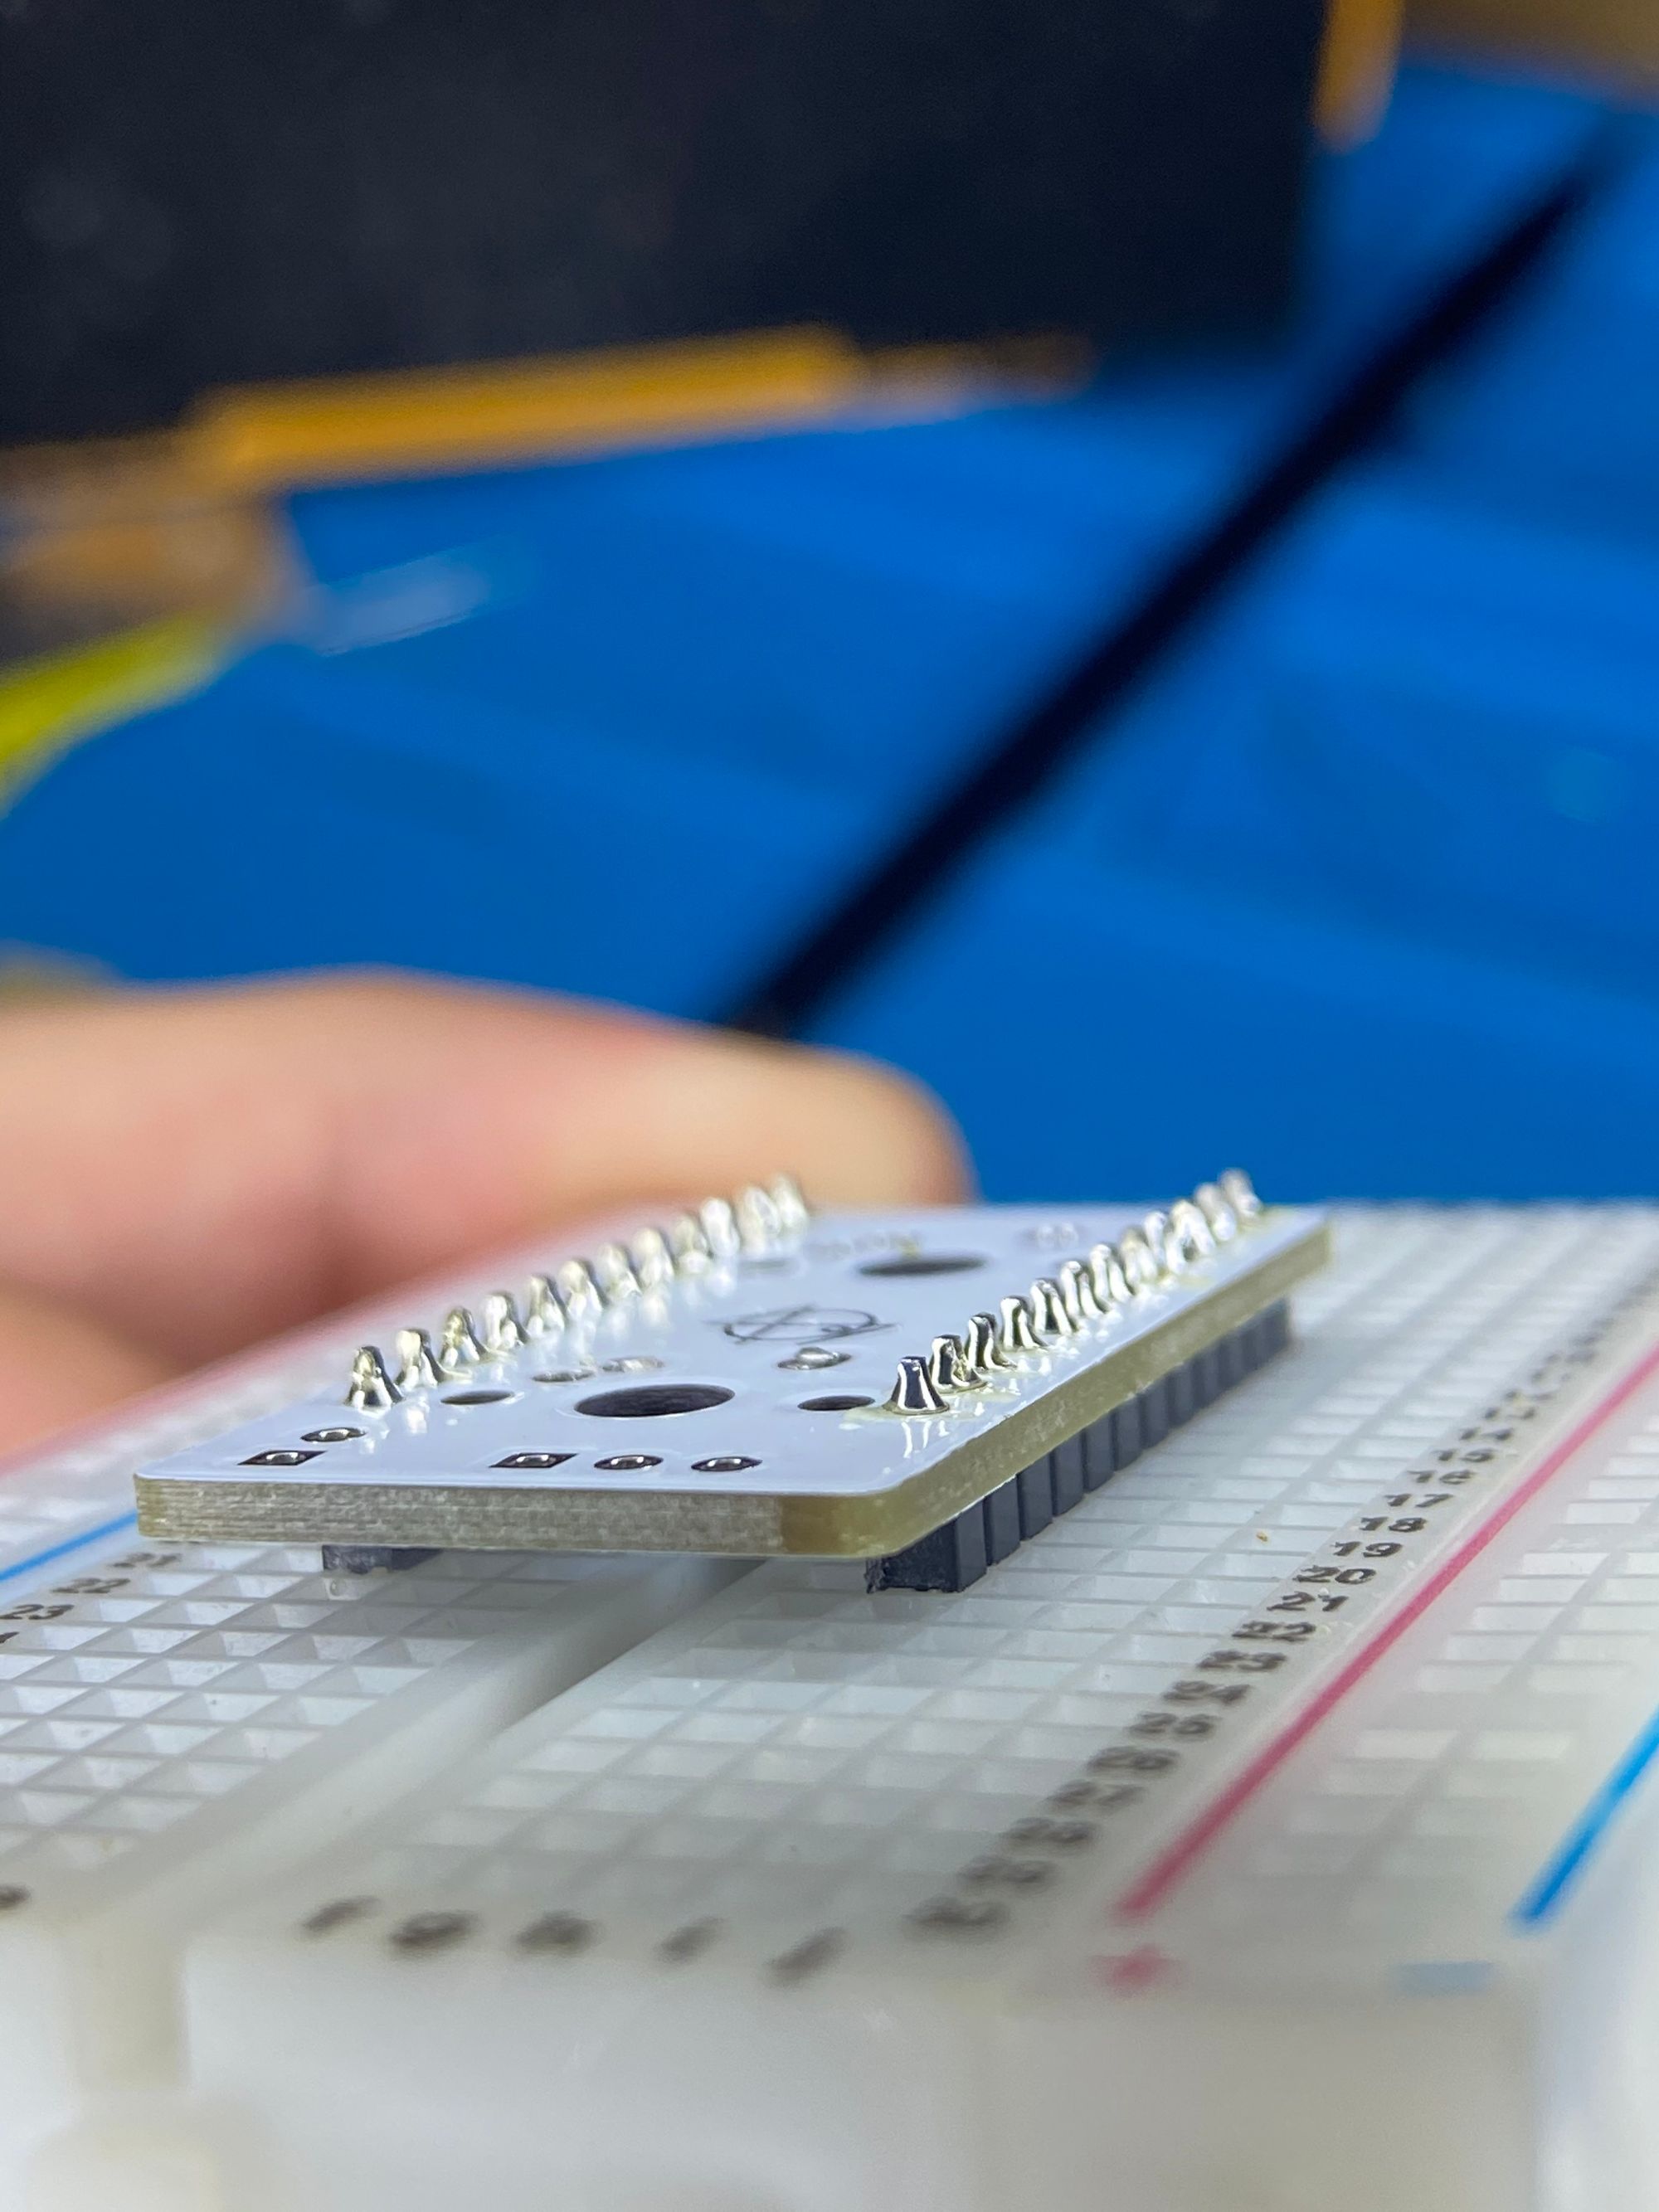
I took the PCB headers and placed them into a breadboard to help make soldering them easier.
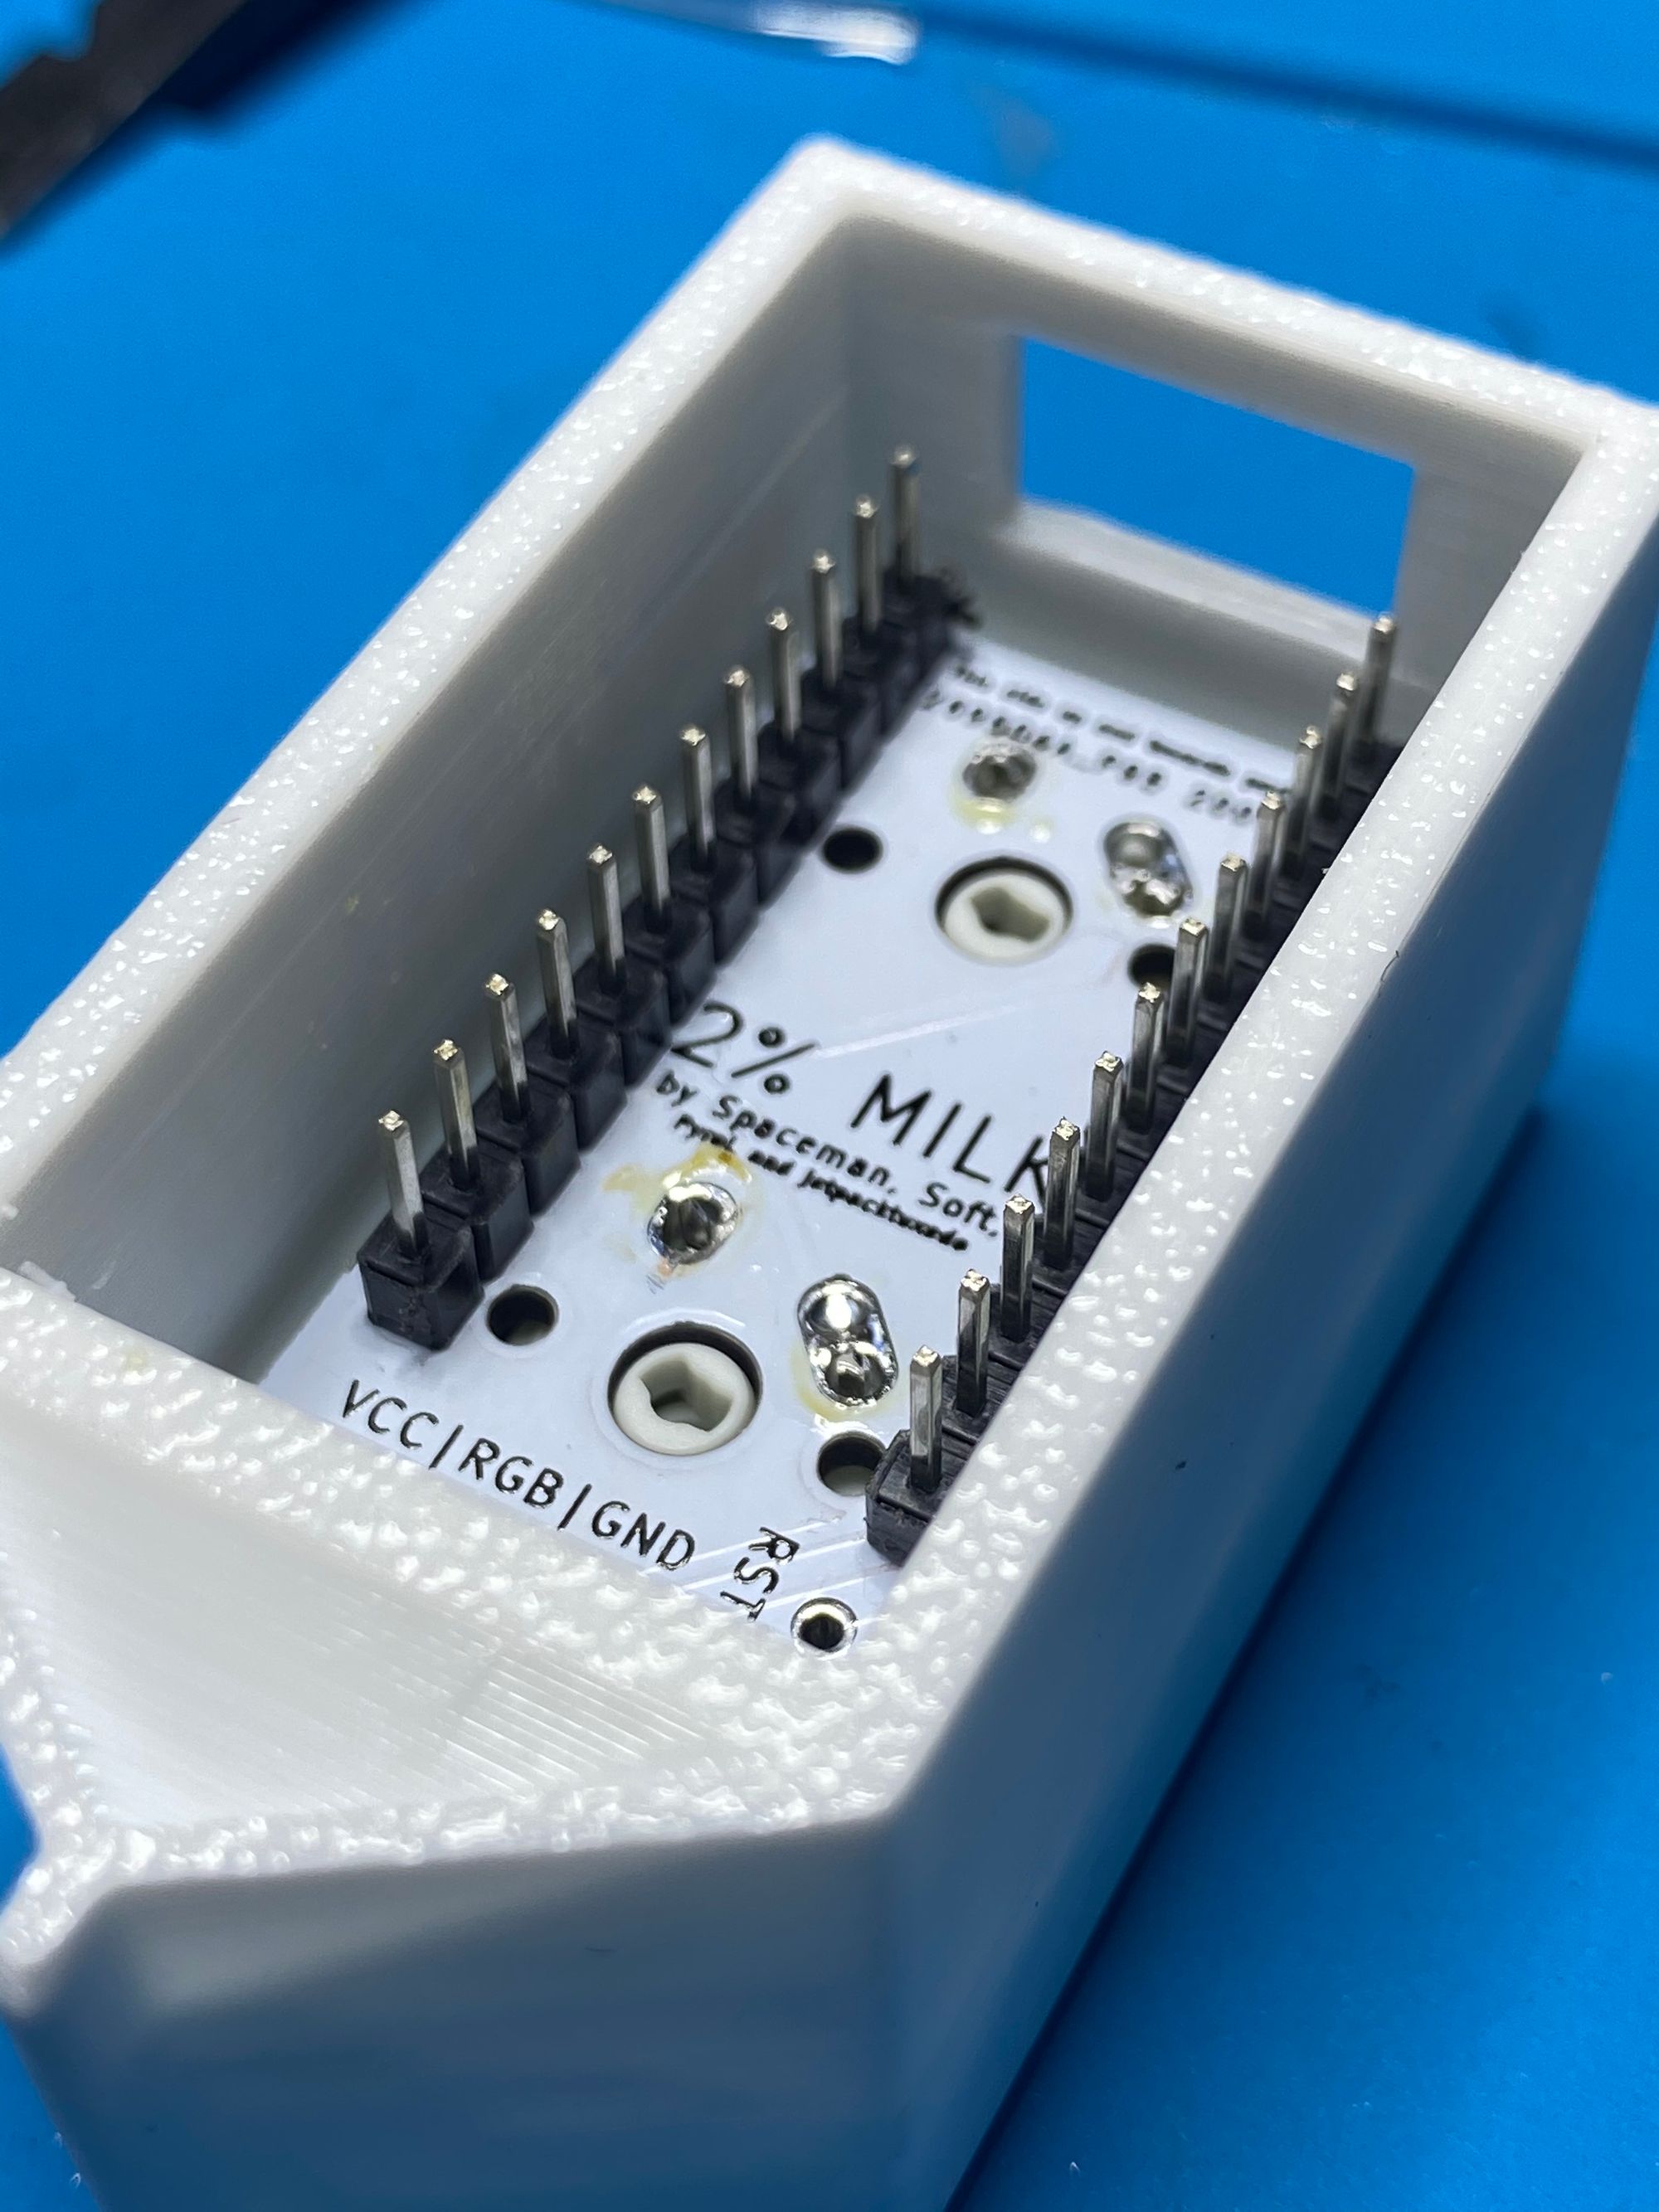
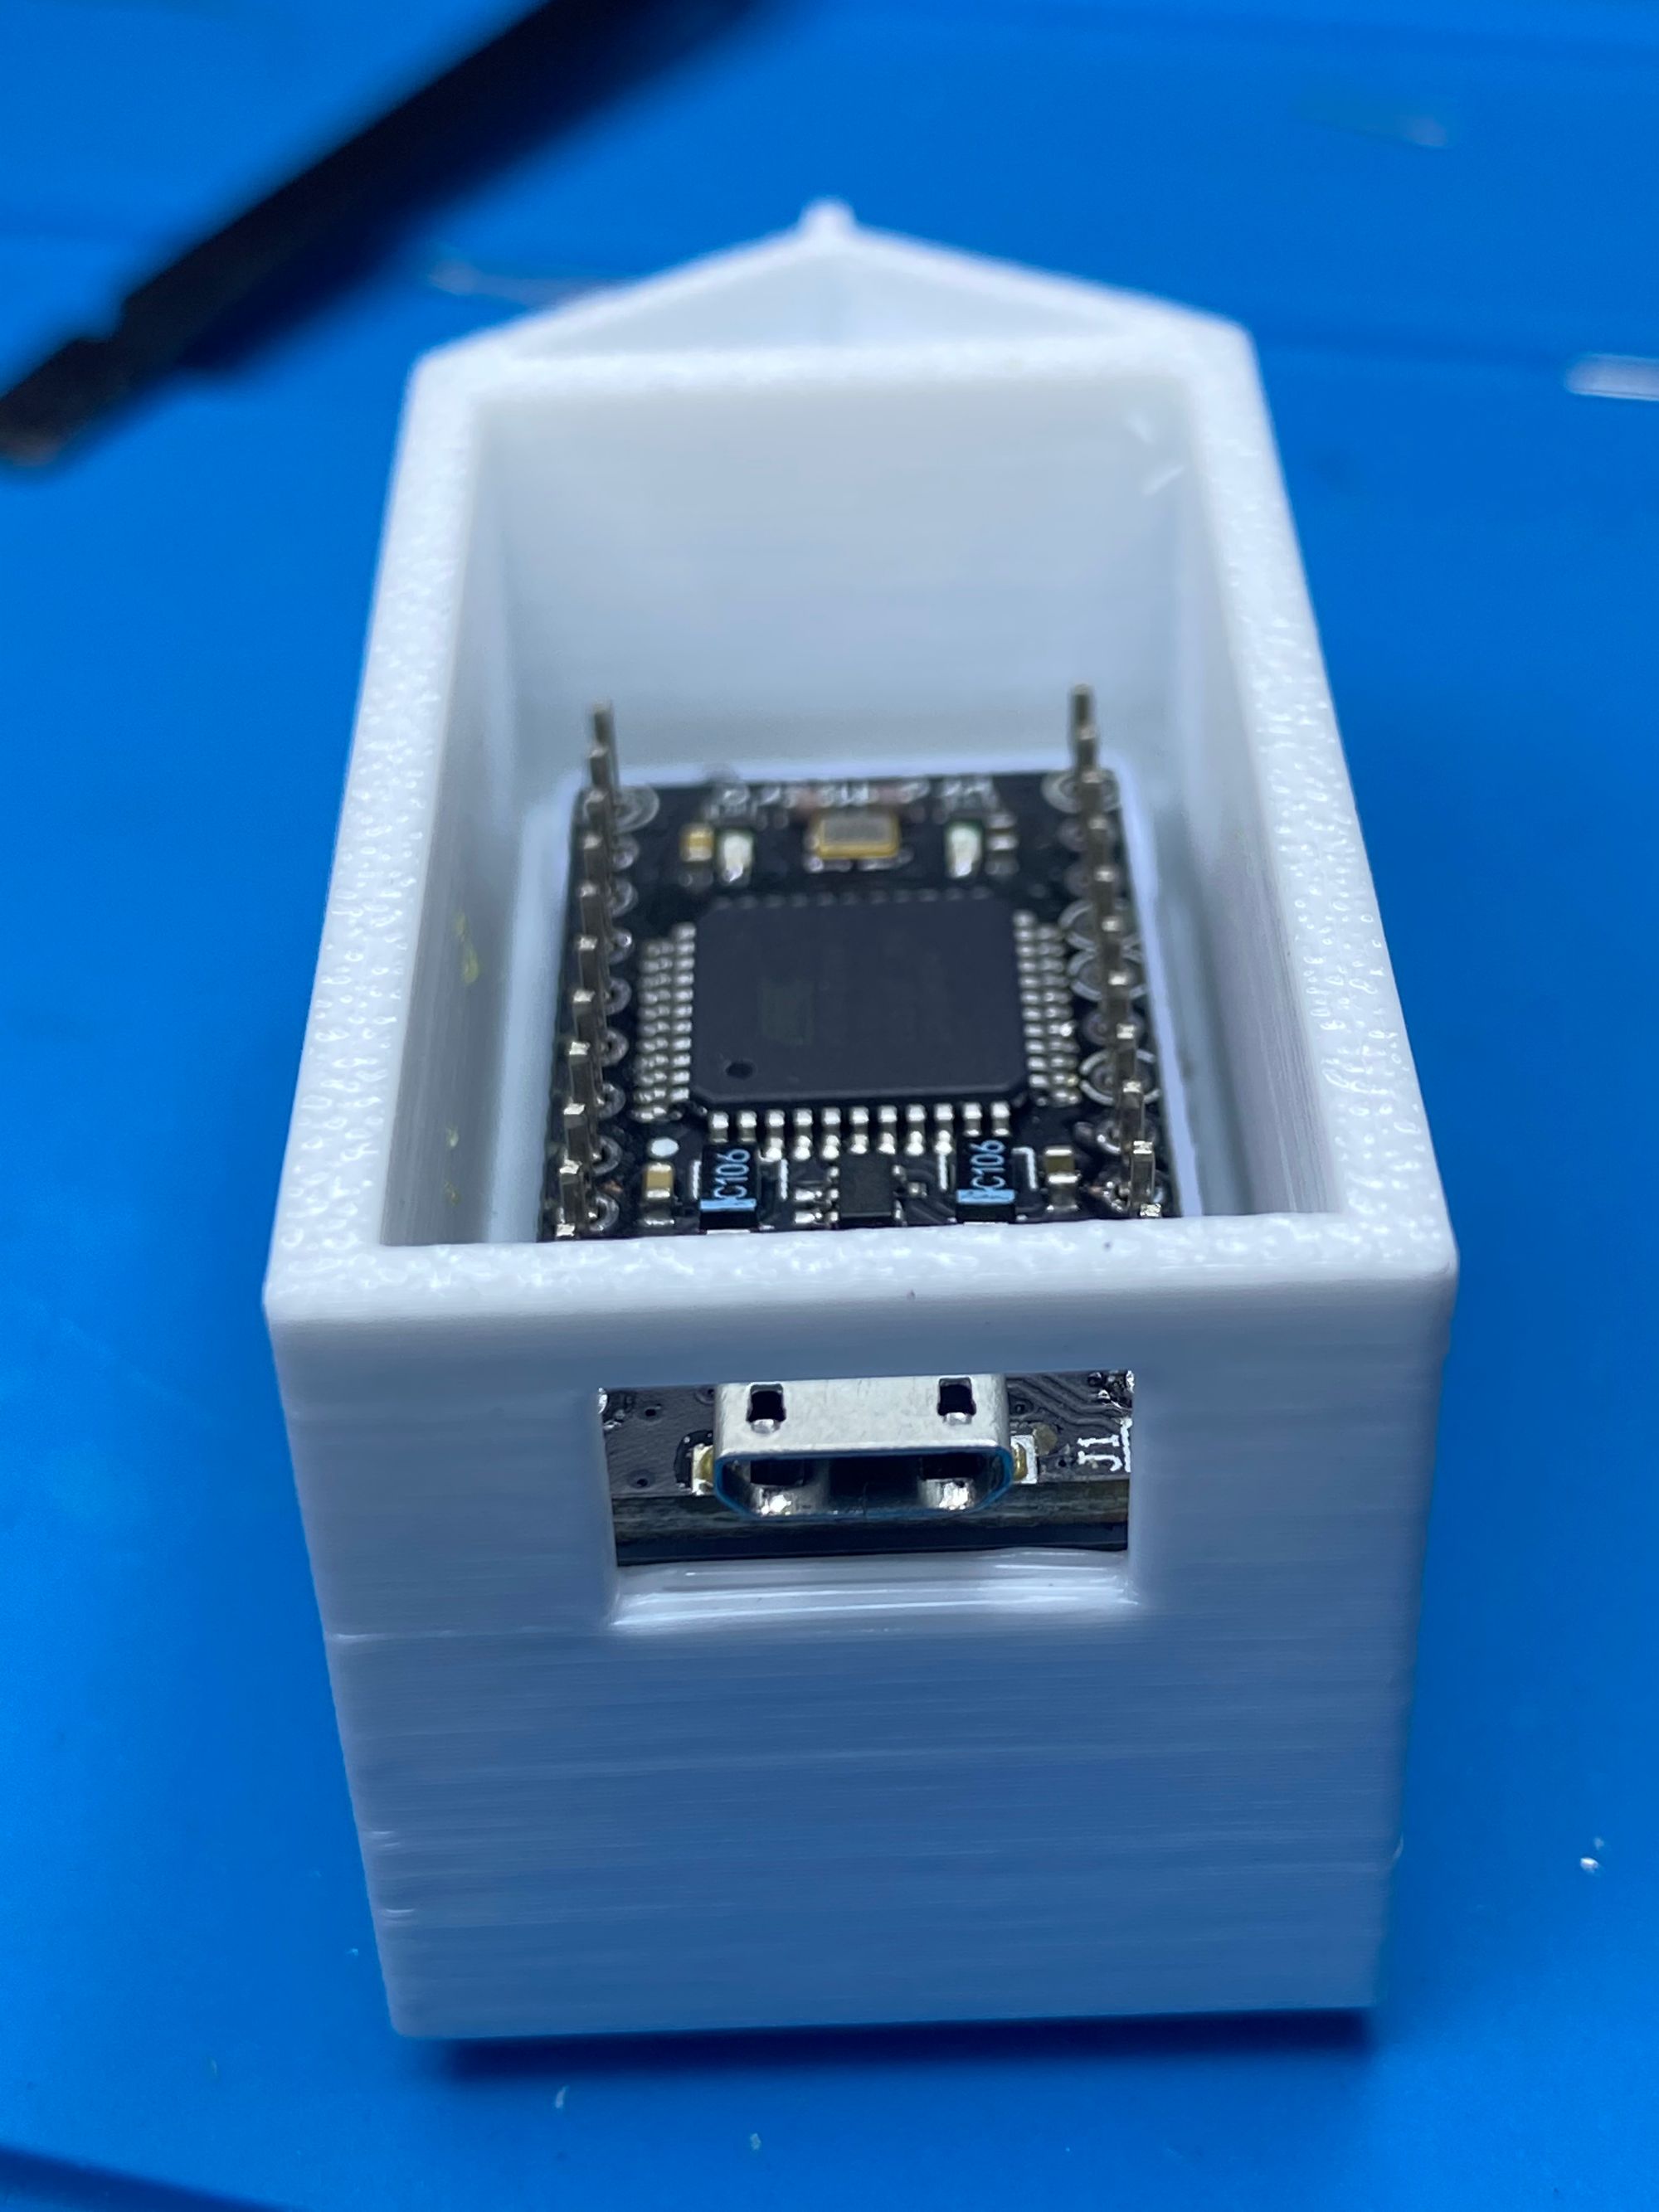
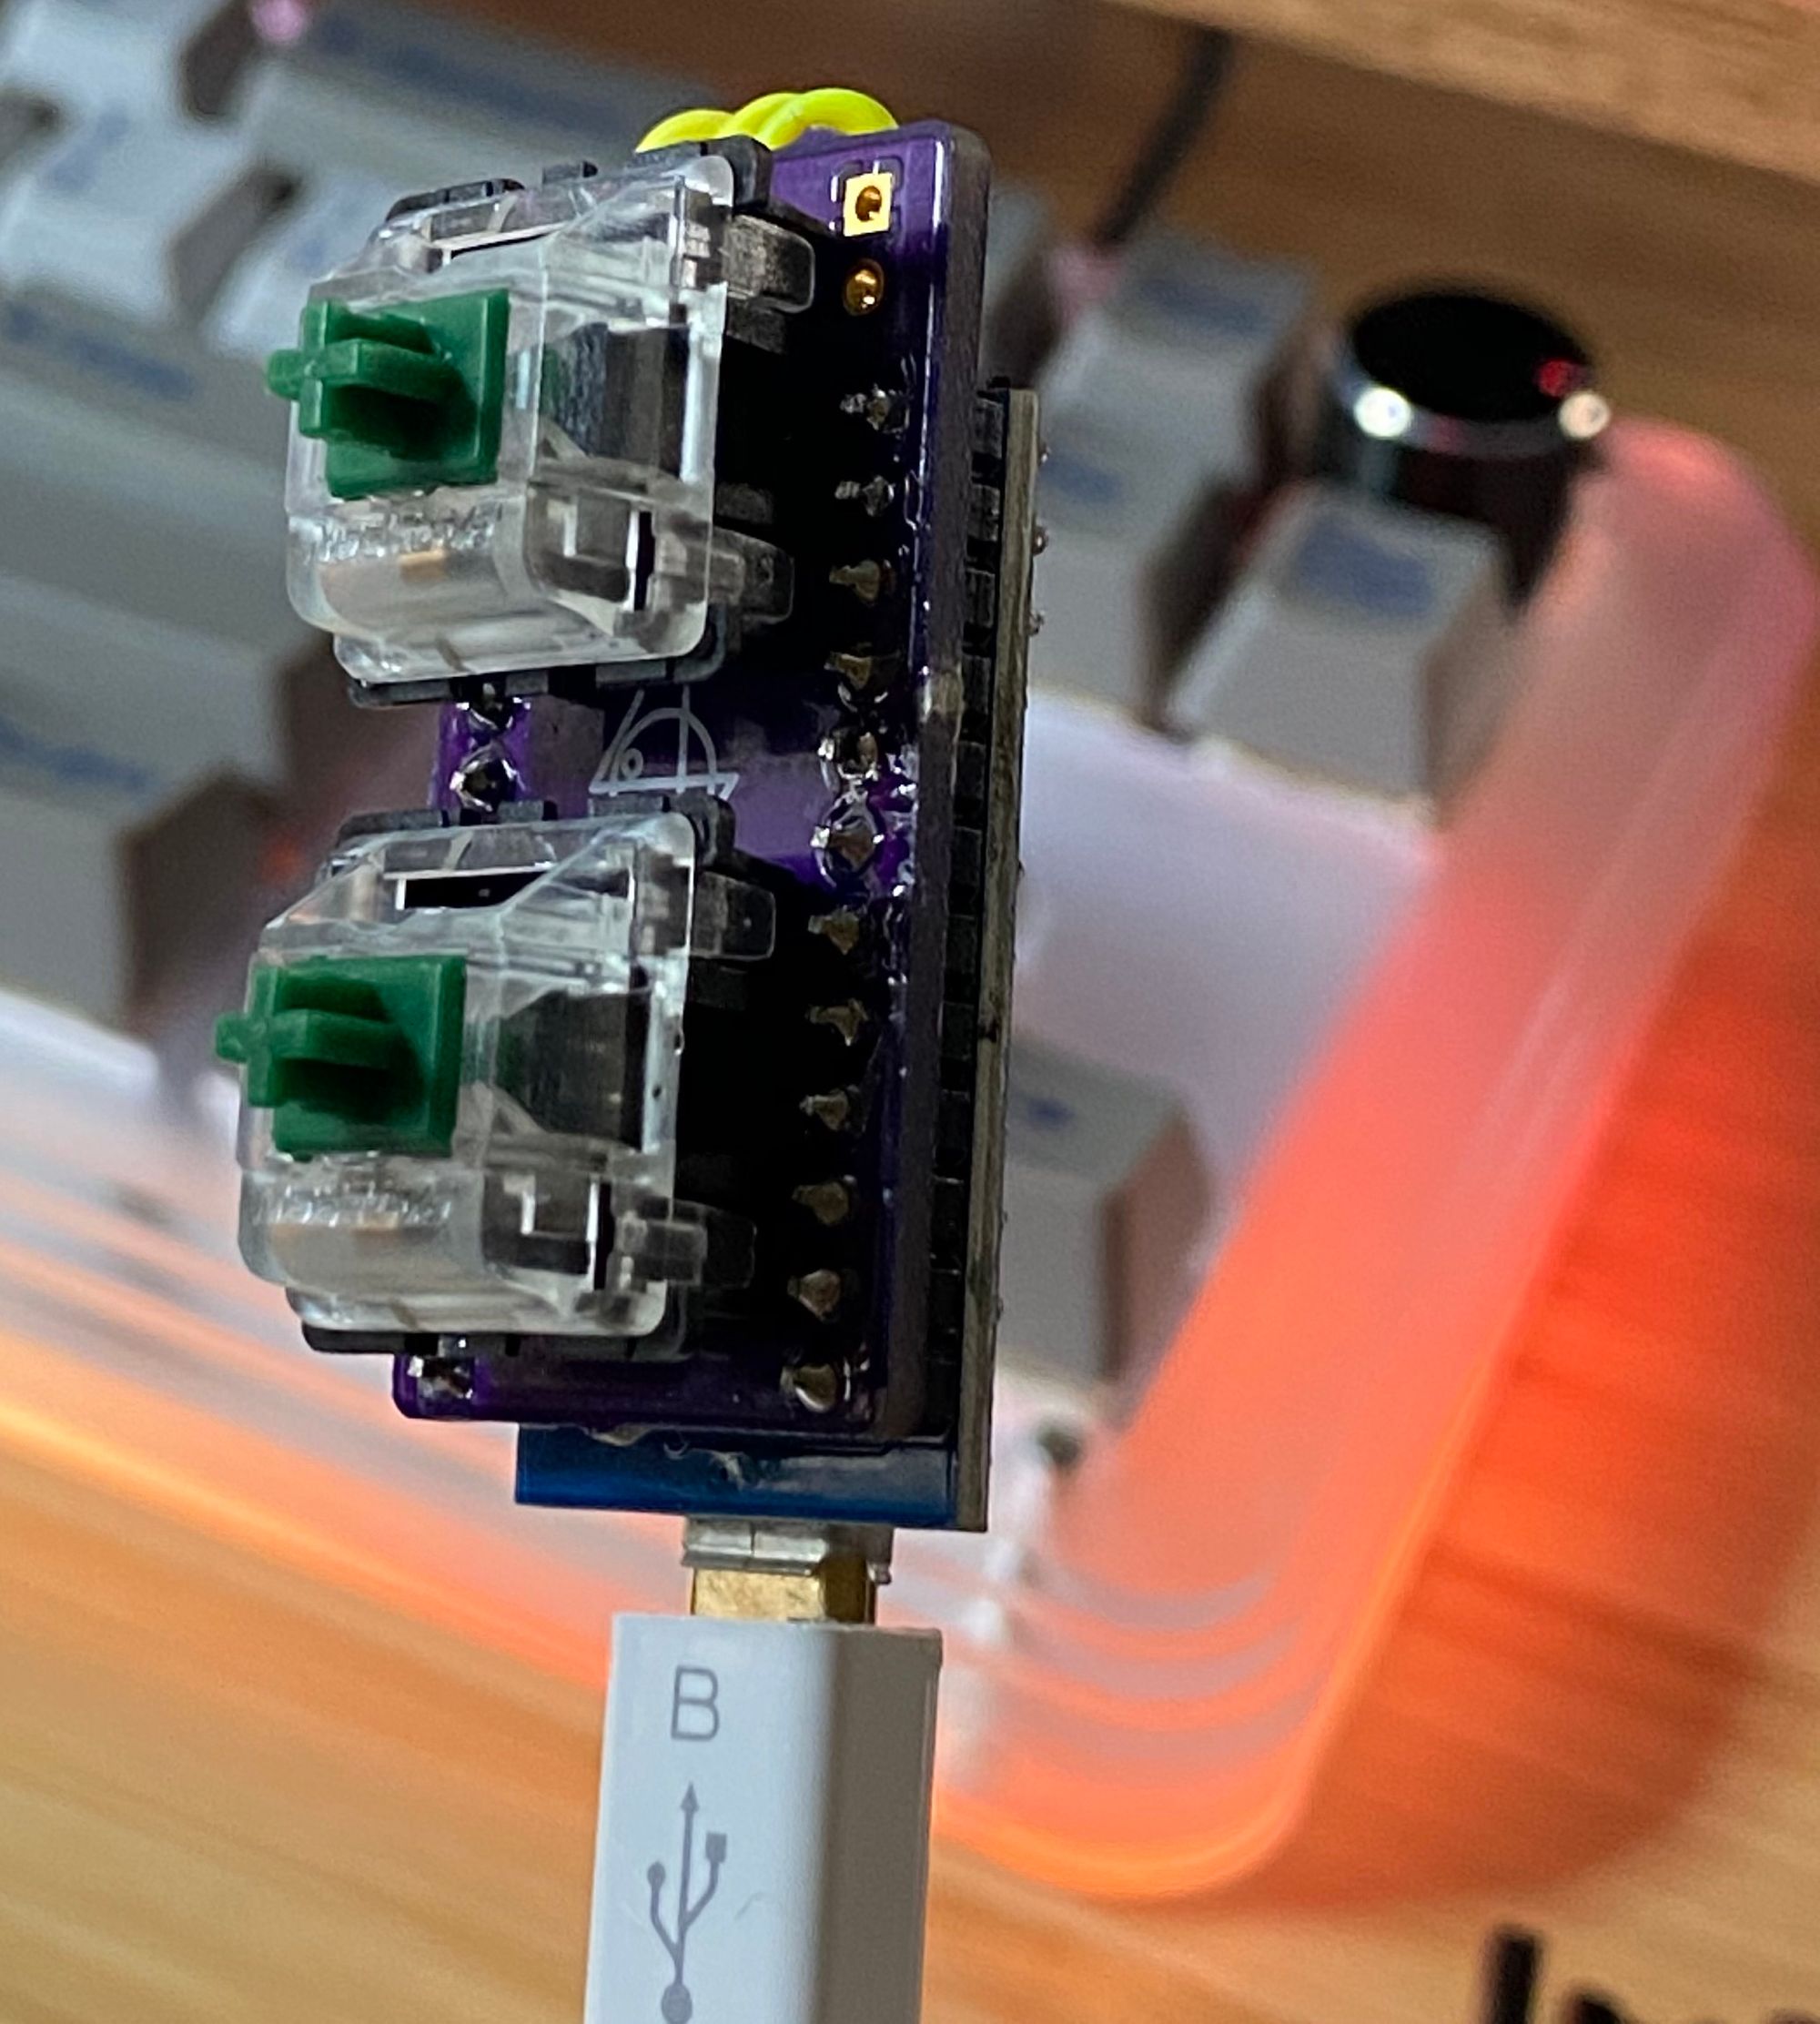
Next step was to place the PCB into the case and solder the switches in. If you're building one, check the silkscreen locations to make sure everything is correct.
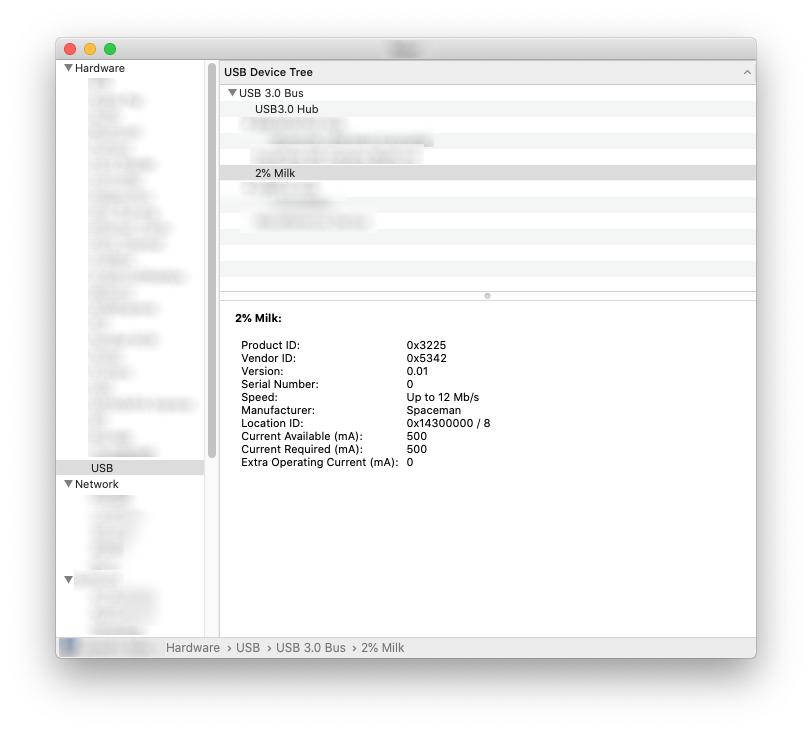
At this point I flashed the Pro Micro using QMK Toolbox and made sure it was working. An easy way to verify a successful flash is to look at Device Manager/System Report to see if there is a connected device named 2% Milk.
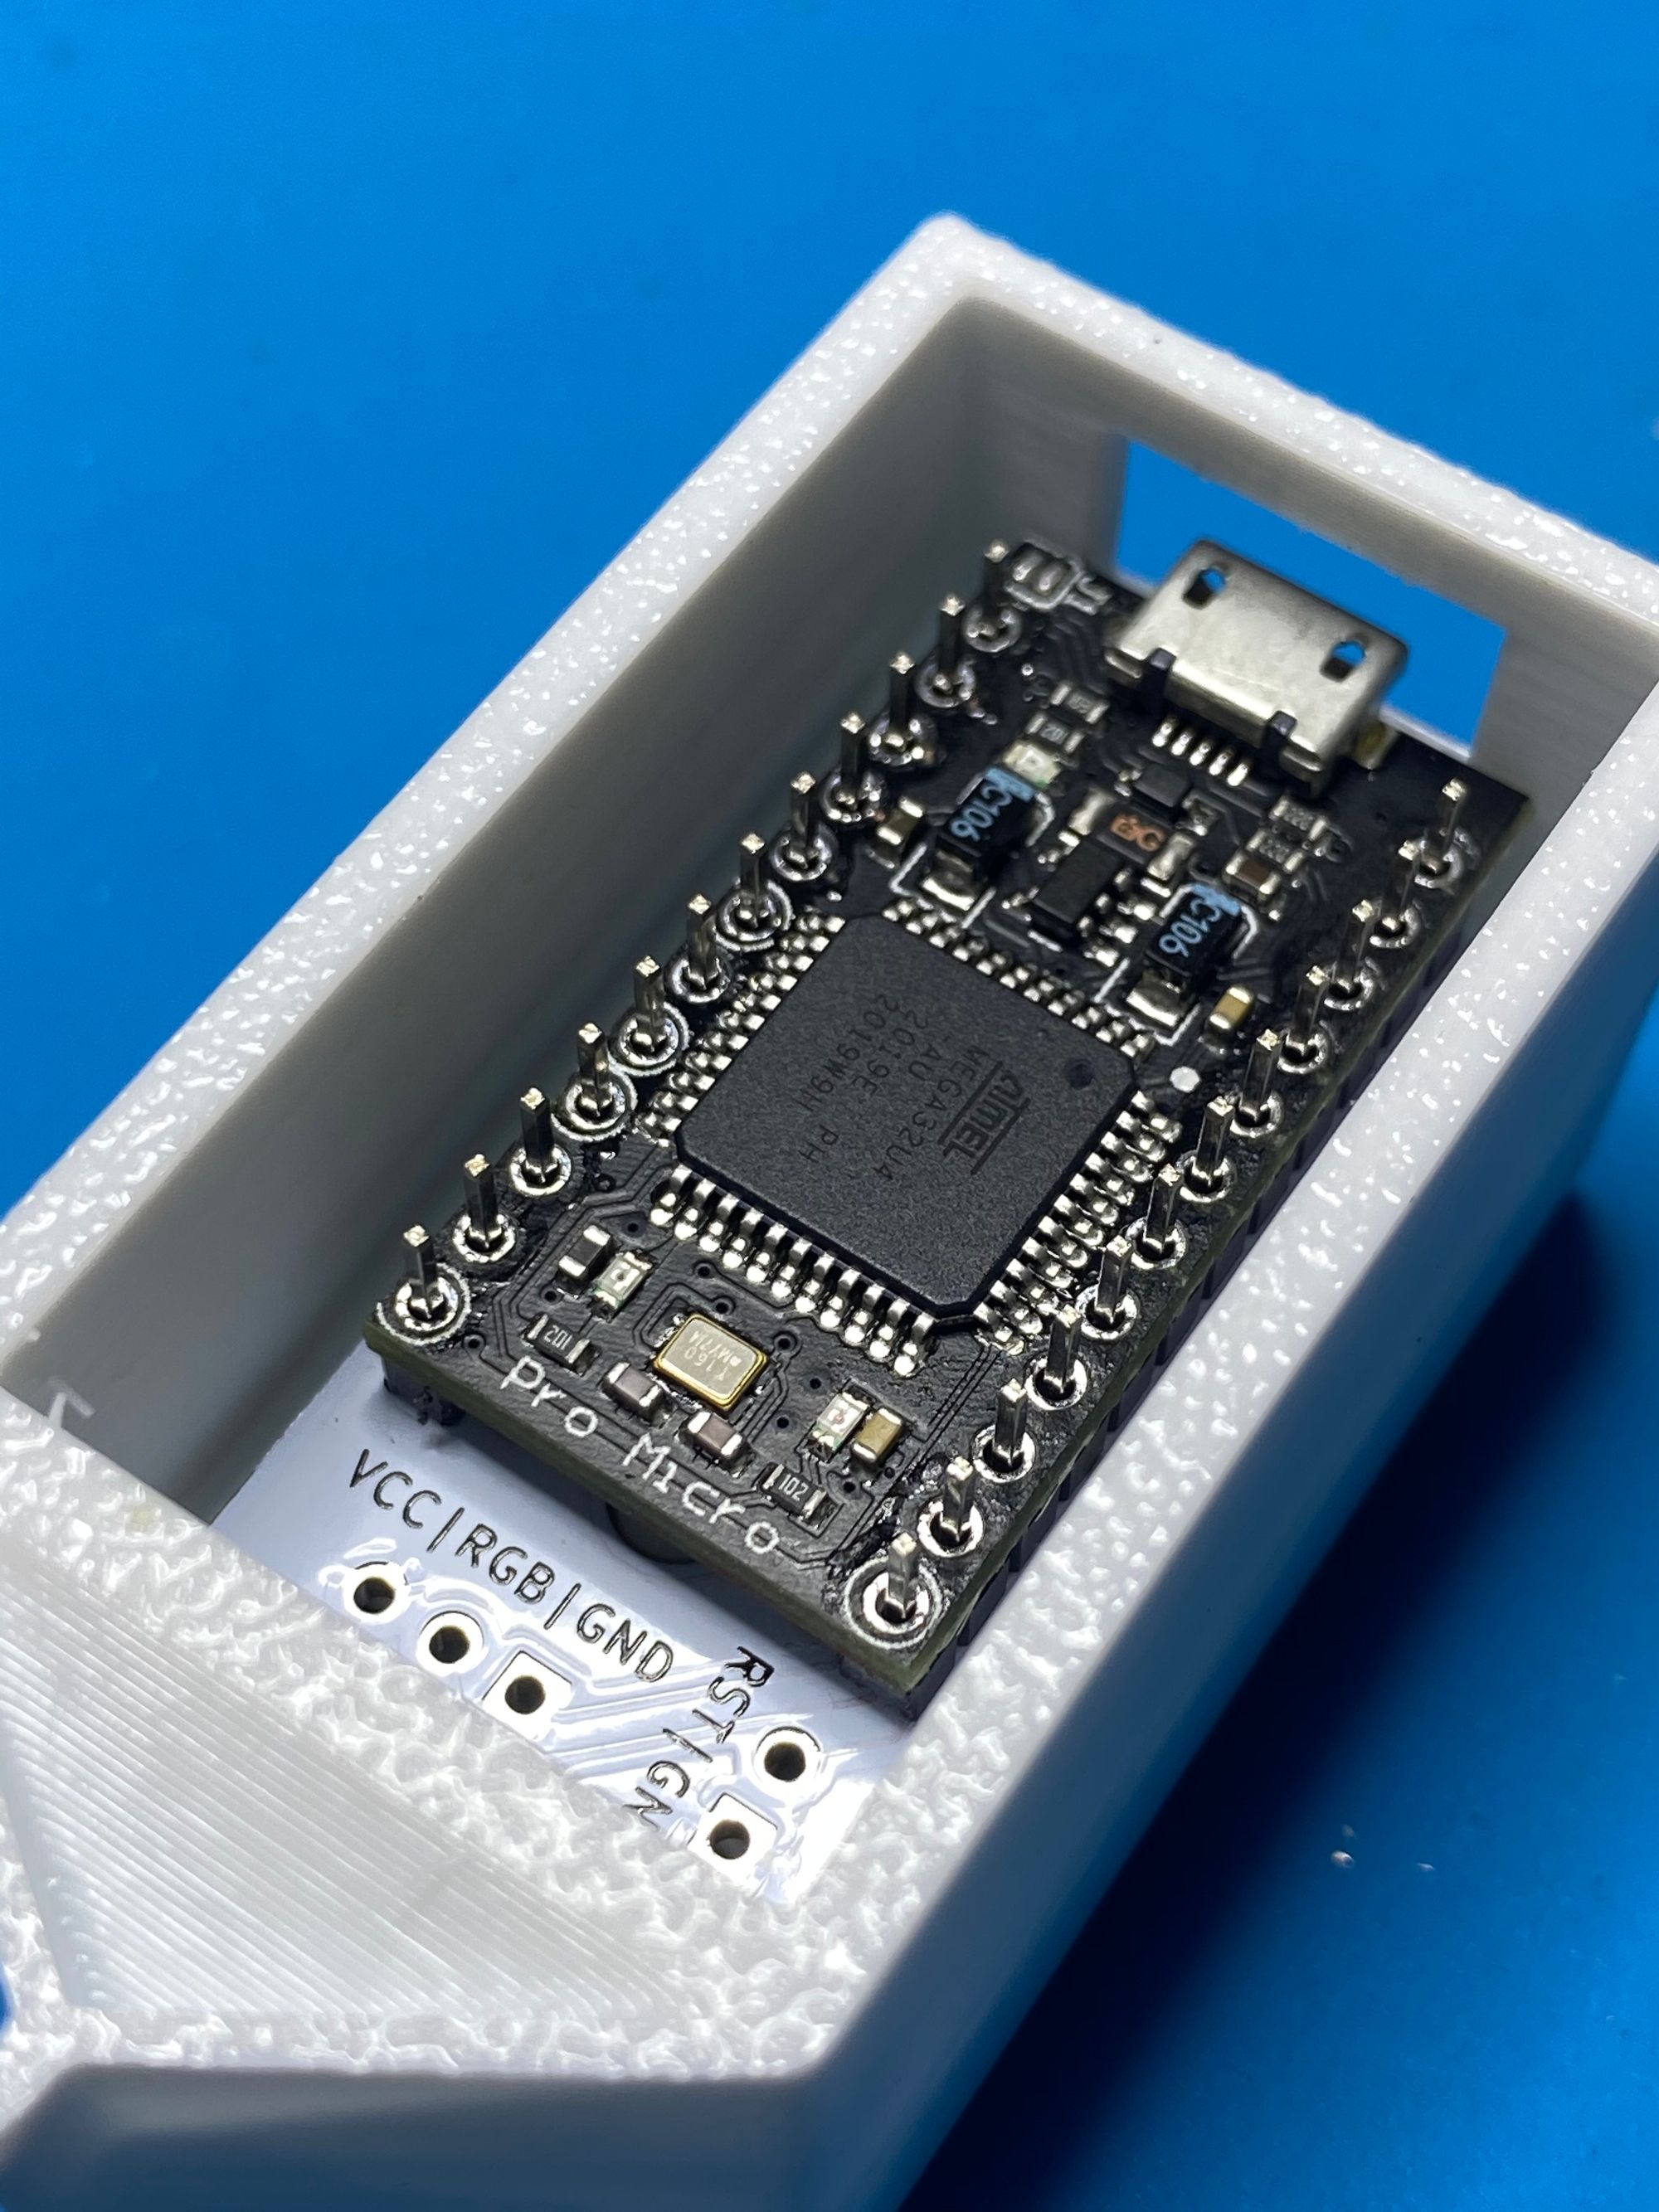
I placed the Pro Micro in and then soldered it. Orientation matters. If it's soldered in upsidedown - there is no firmware fix or some magic that can make it work. You'll have to desolder, flip it, and resolder. Be careful while soldering, it's easy to burn the 3D printed case with the soldering iron. Ask me how I know this.
That's it. All done.
Epilogue
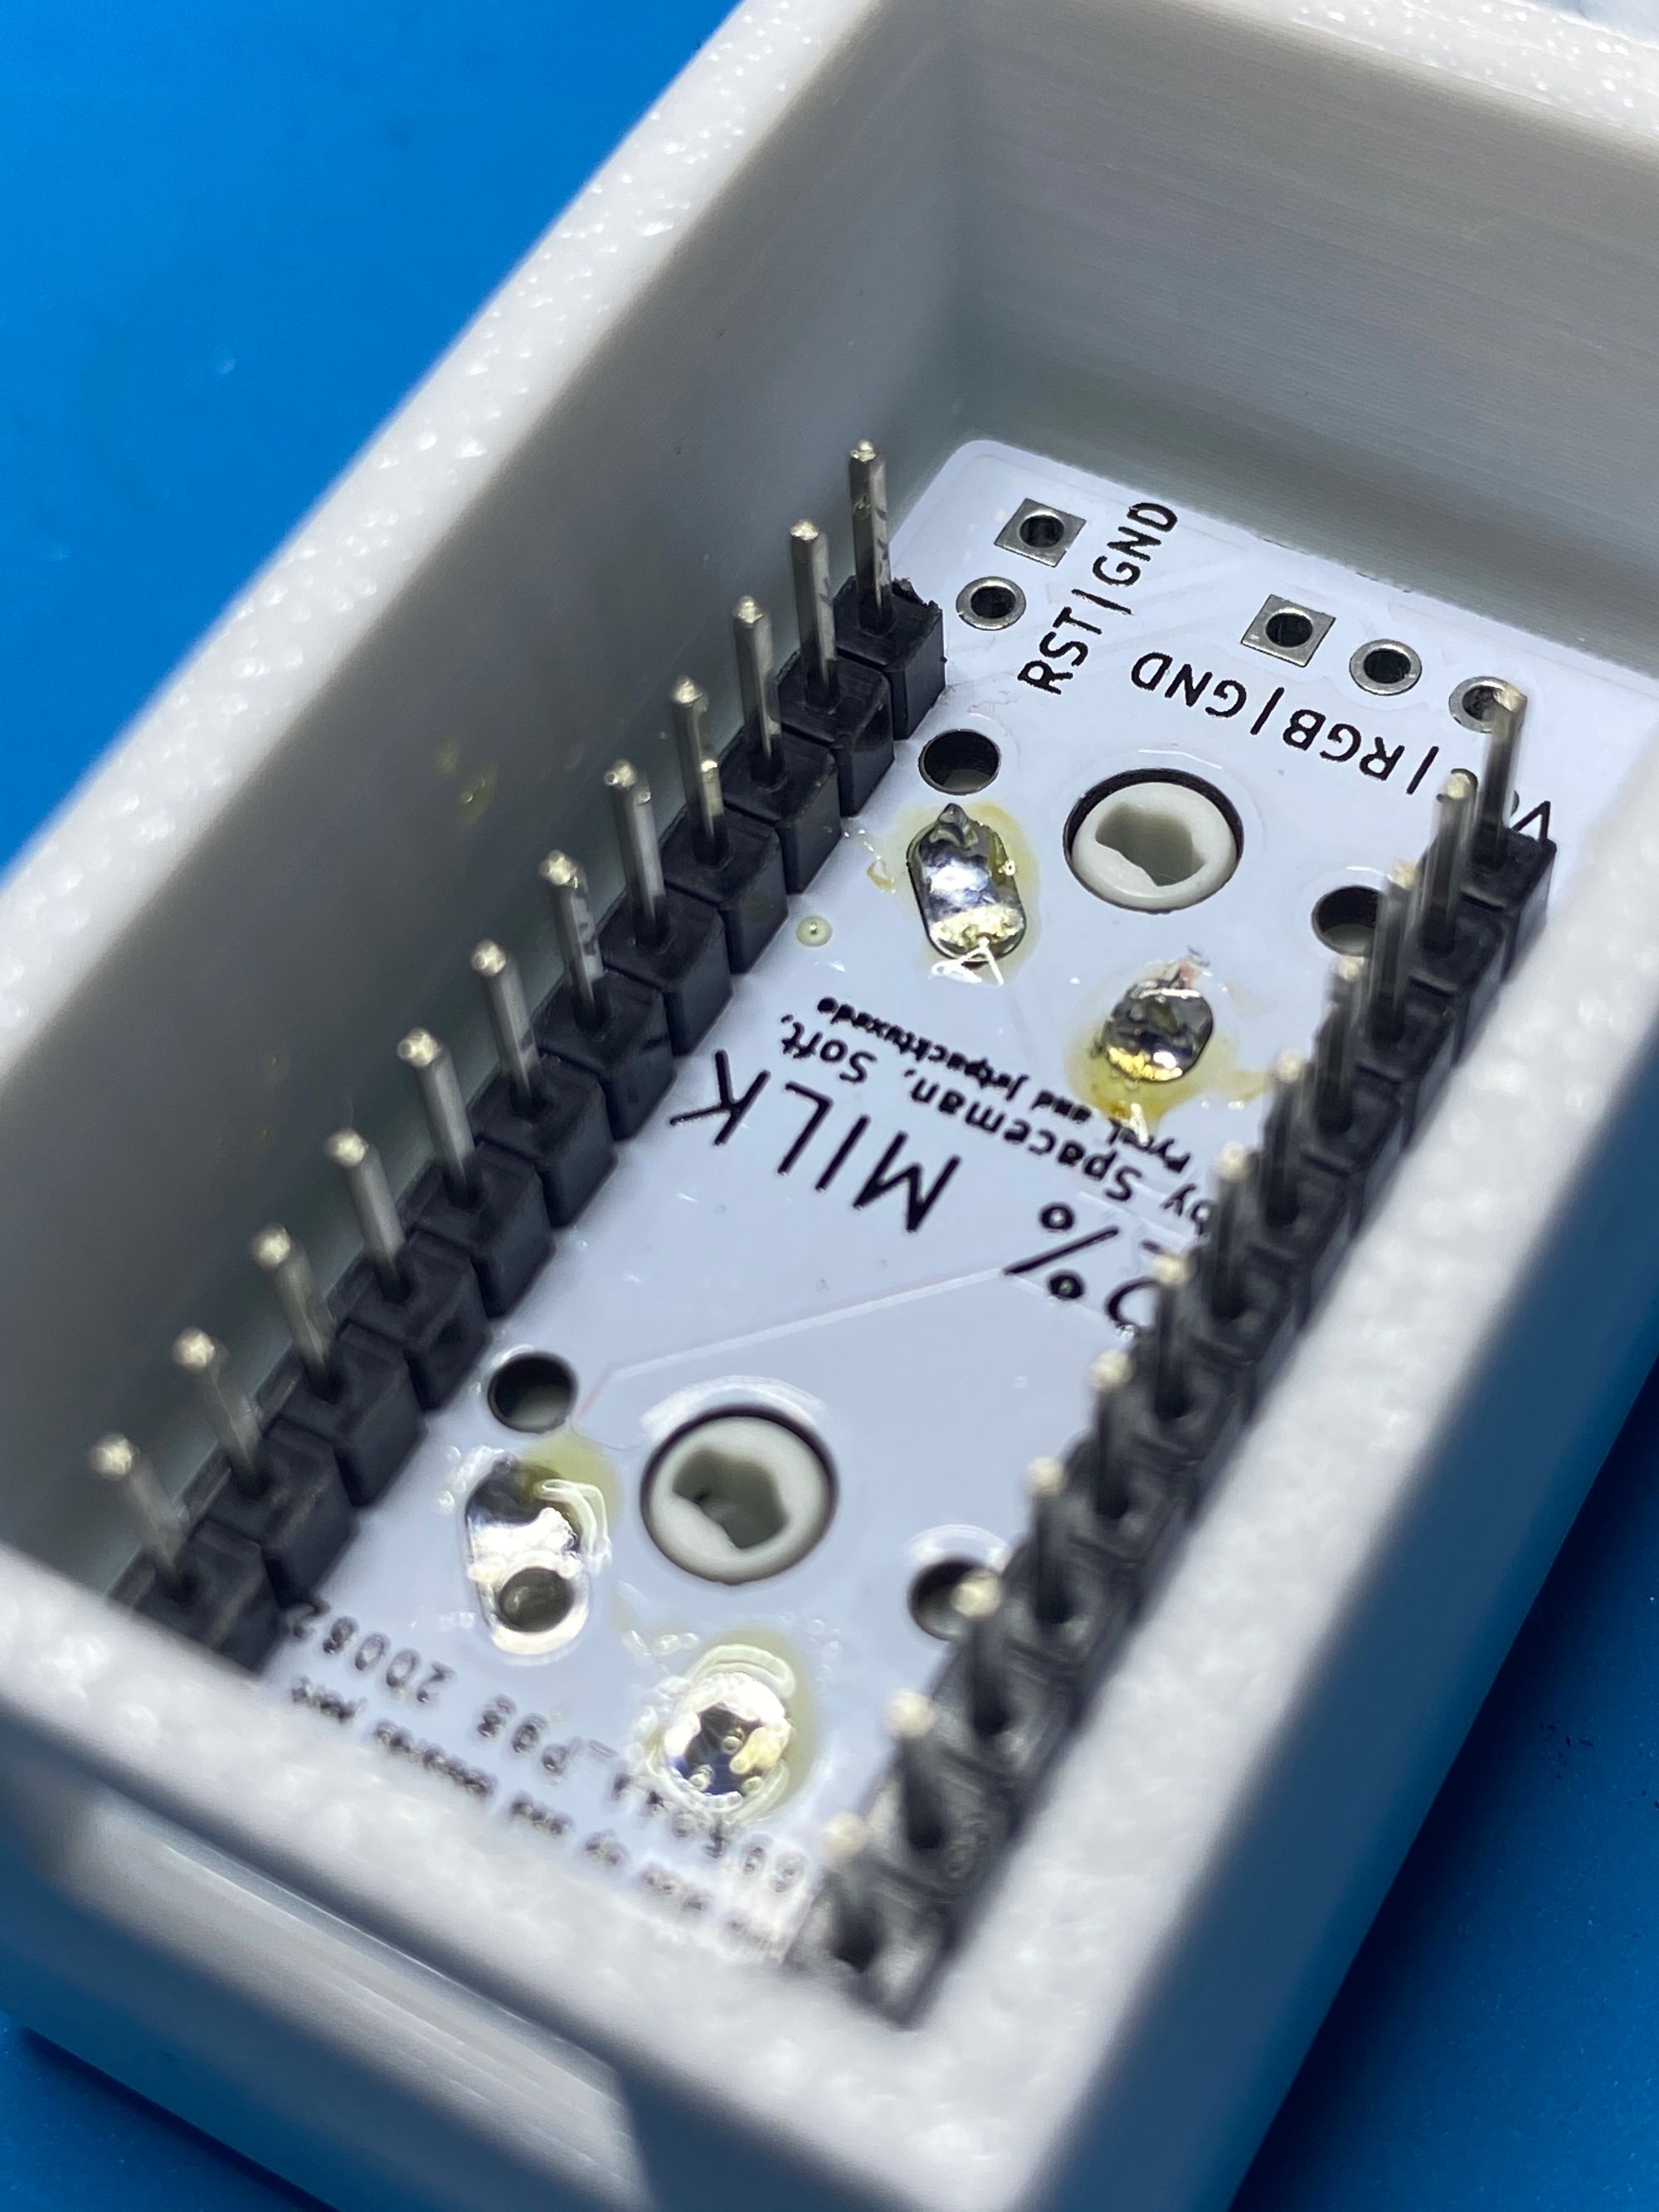
After completing the build, I noticed the VCC|RGB|GND connections on the PCB. Shit. I could've put an RGB LED in but missed my chance. So I did what any normal, sane person would do. I found the gerber files, sent them to OSH Park, and got more PCB's made. It was expensive and one thing I would do differently would be to use JLCPCB instead of OSH Park to save money.
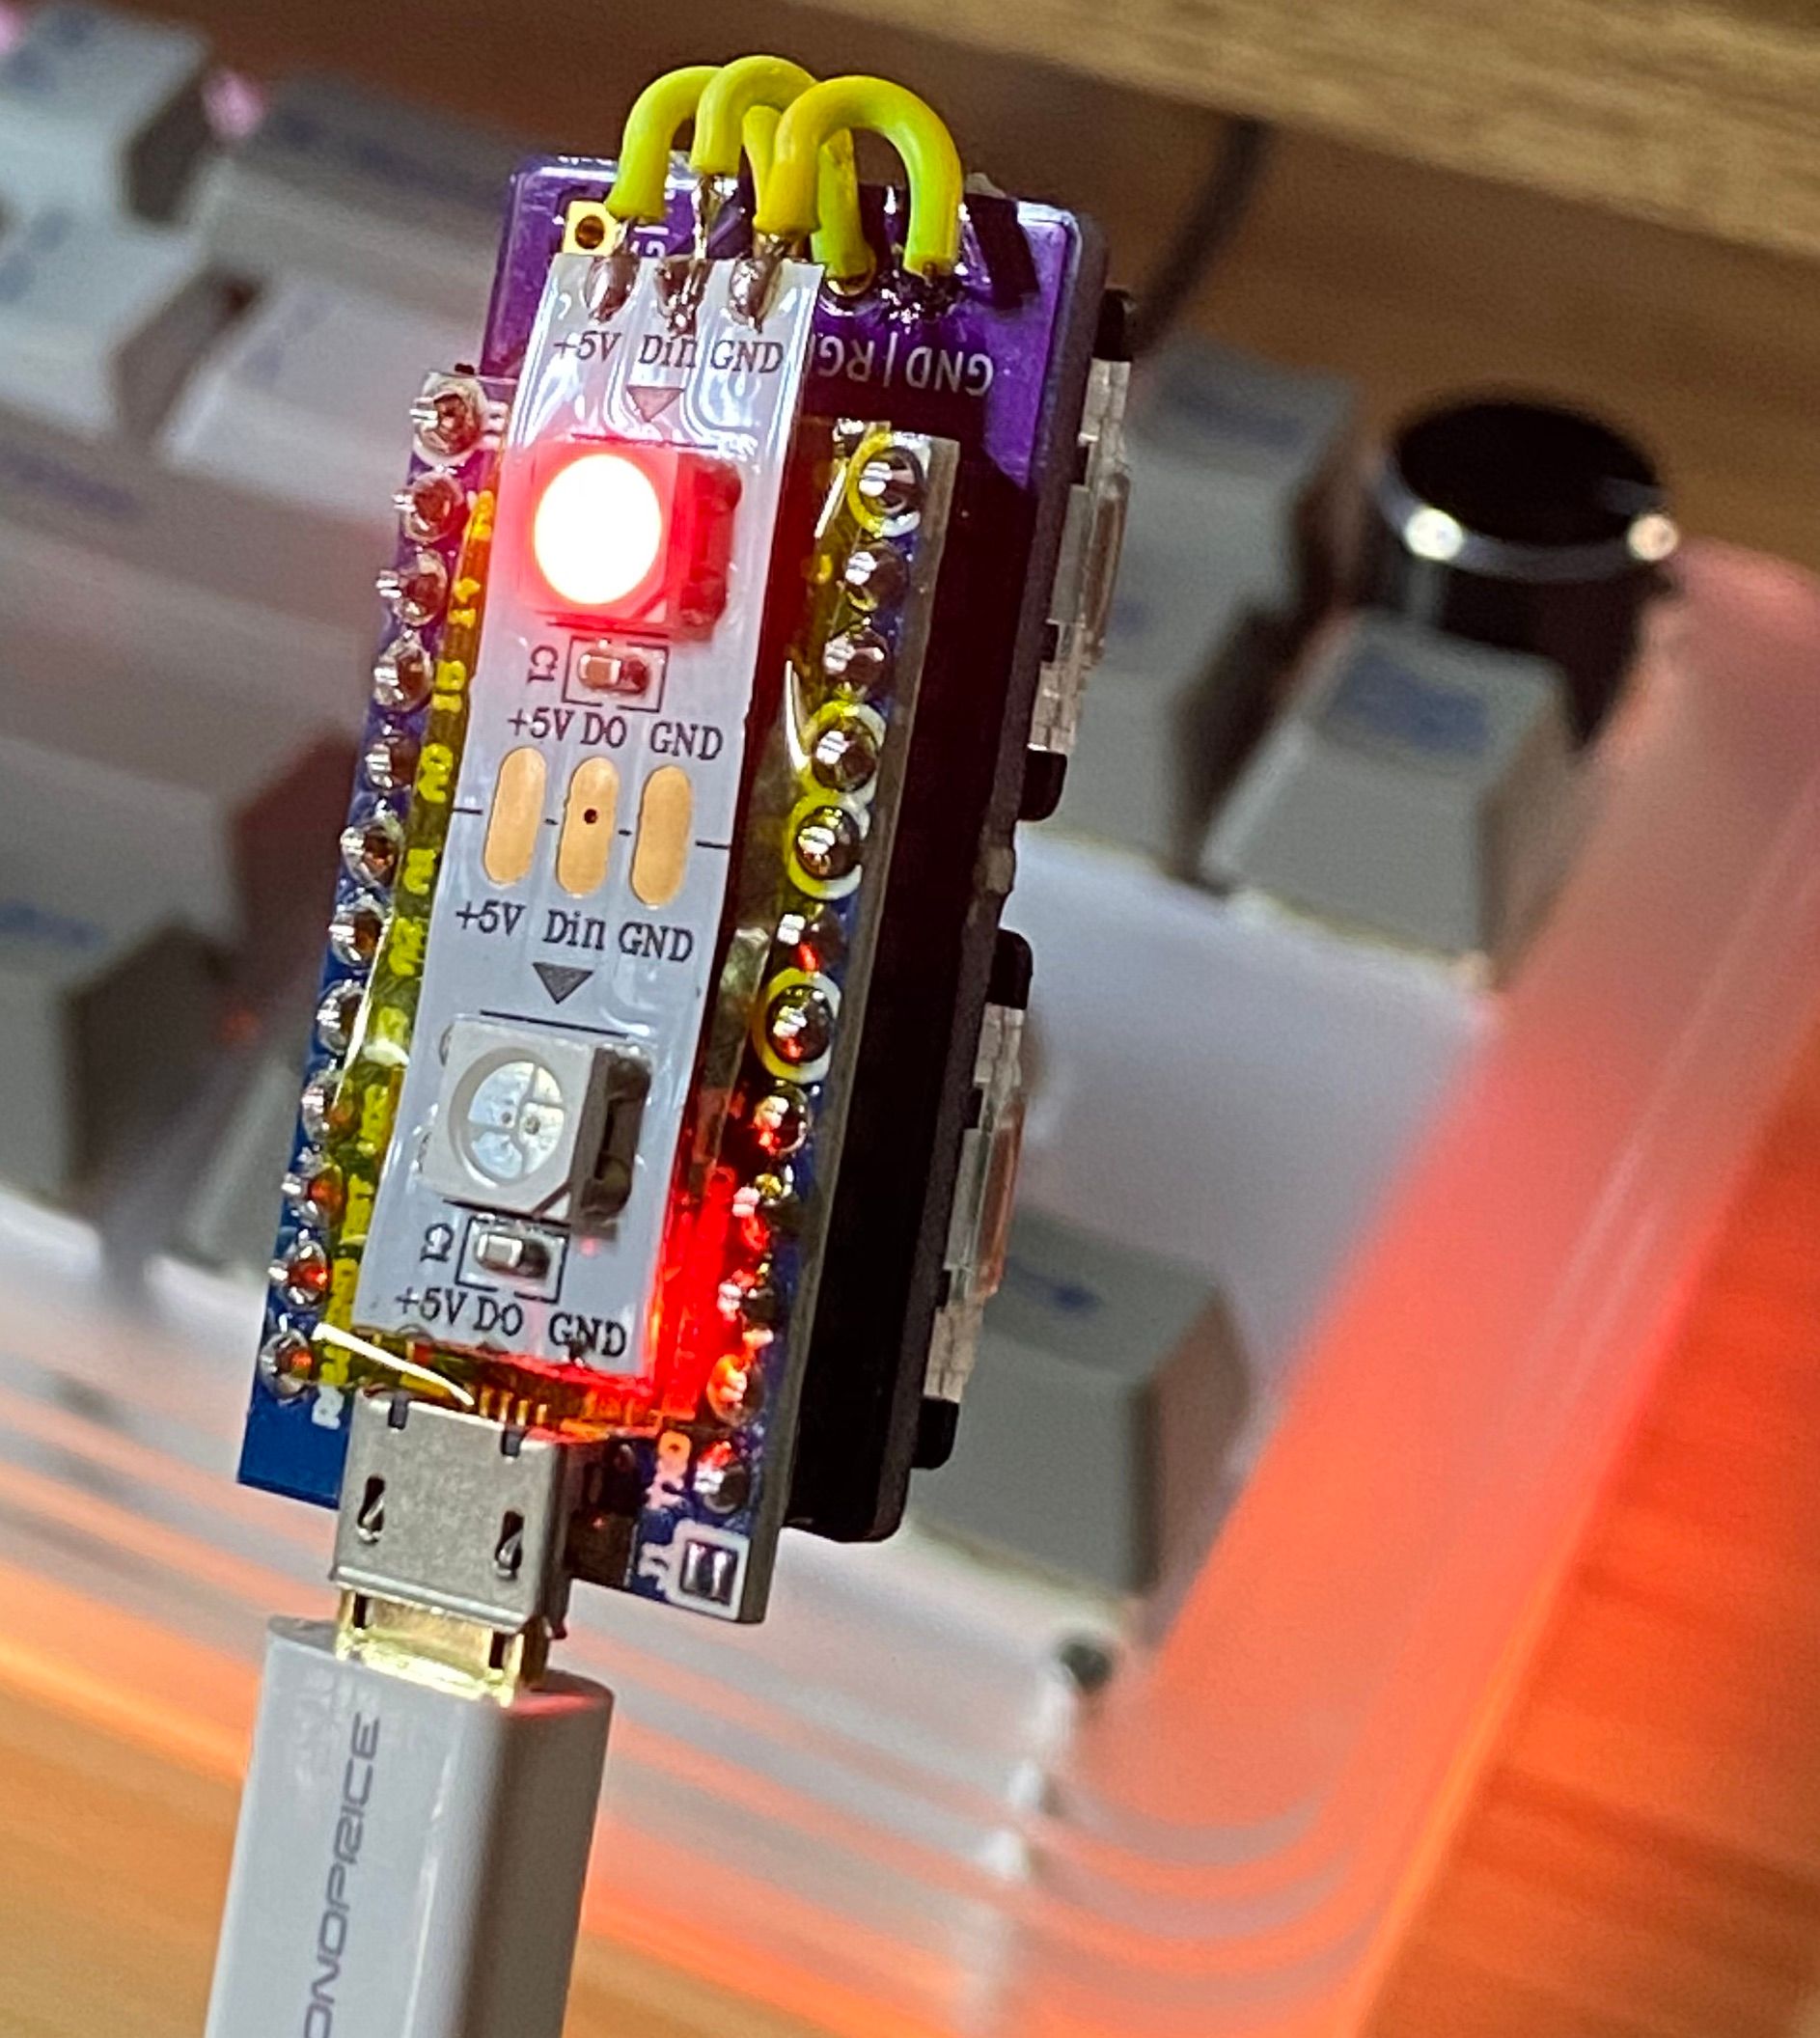
This second one was a good learning tool for how to add RGB to a board and how to tell QMK how many LEDs a board has. QMK has excellent documentation 🙏.