Found this beauty on Esty. Most weird mechcanical keyboards have been opensourced, however this one wasn't. I looked all over Github, keybort Discords, etc. for the source files but they weren't there. And no one had made a clone (yet).
adds to cart
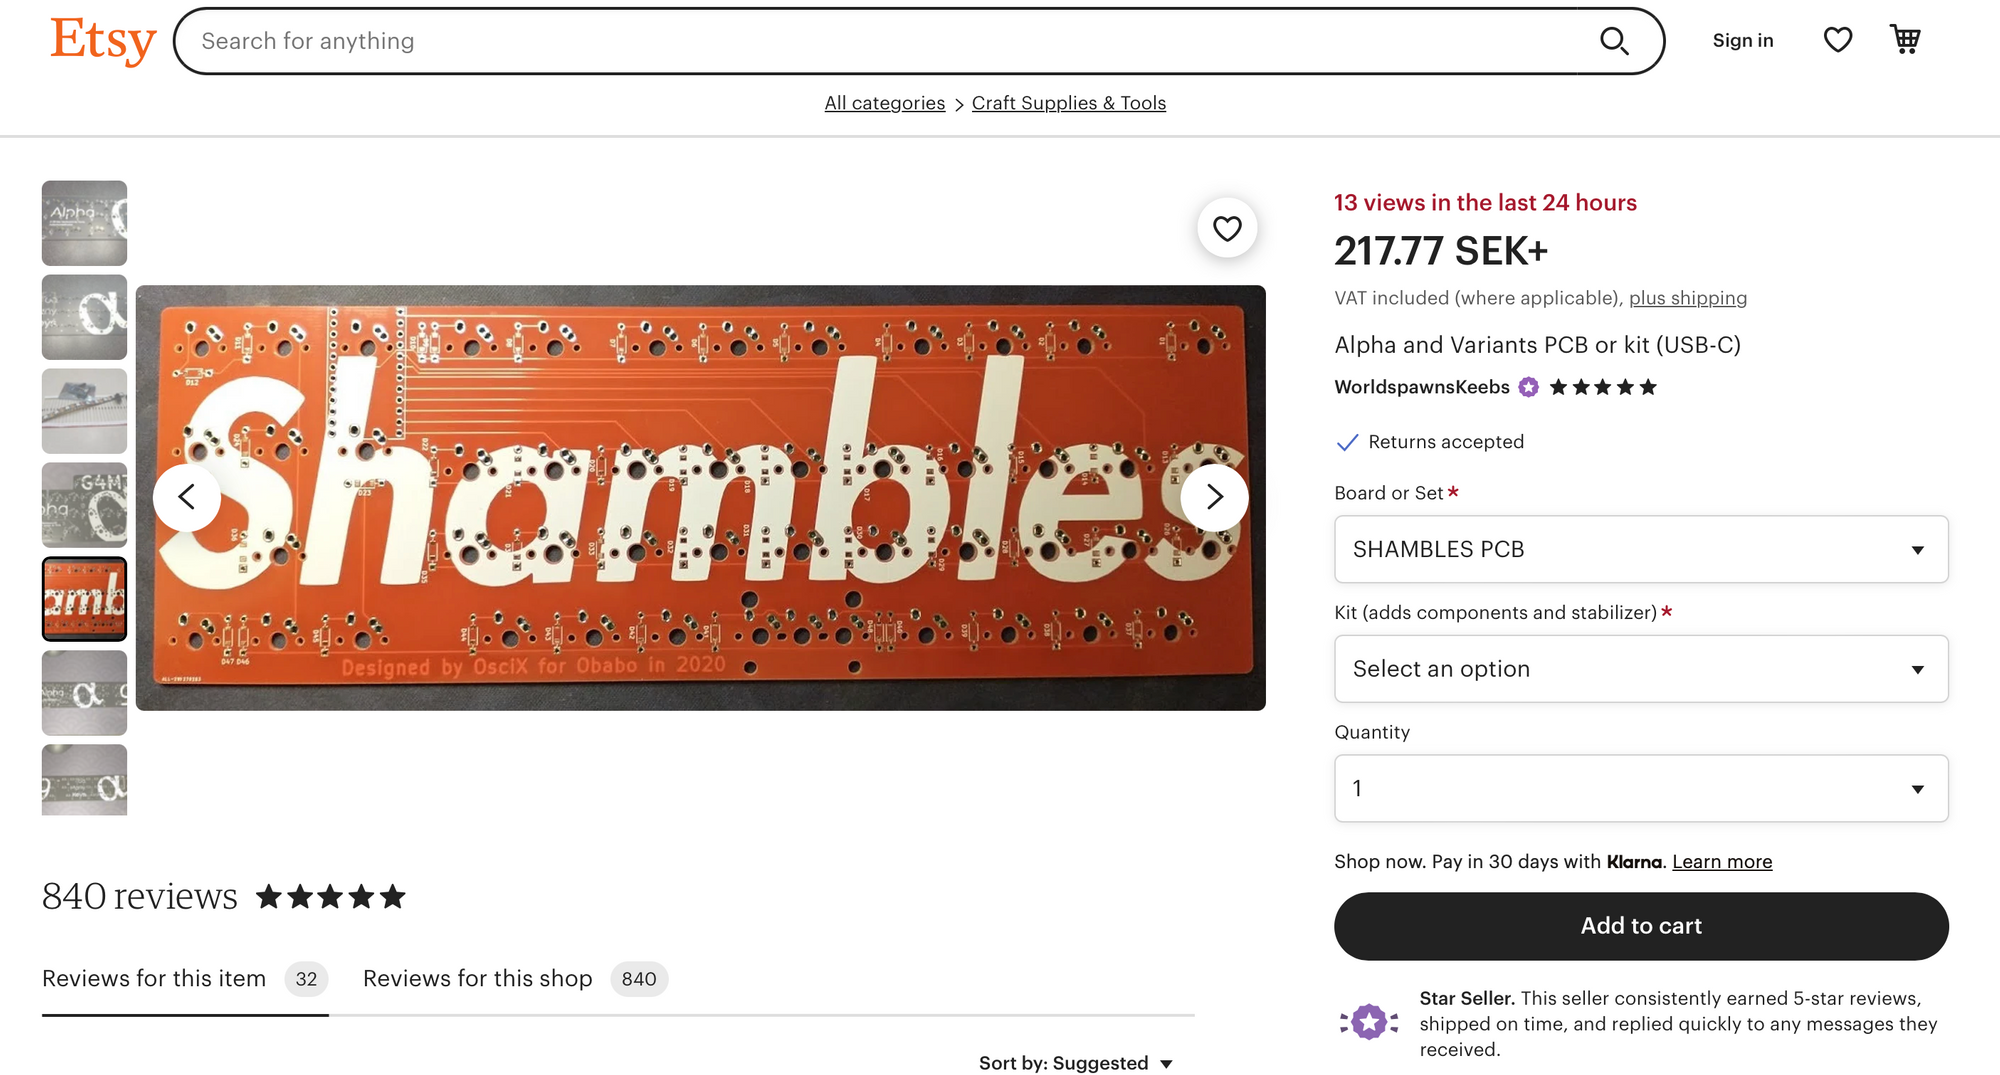
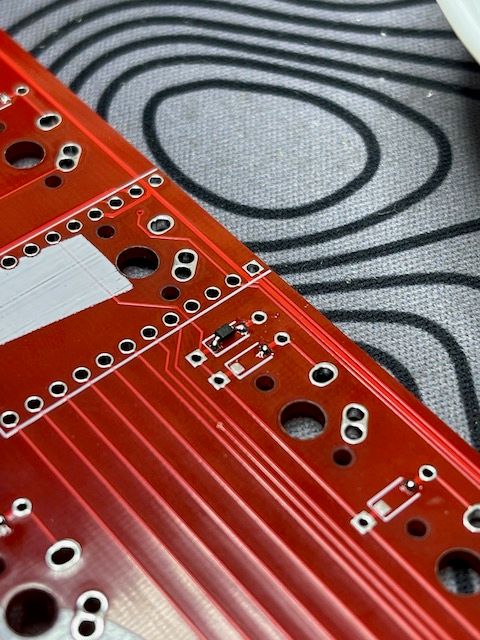
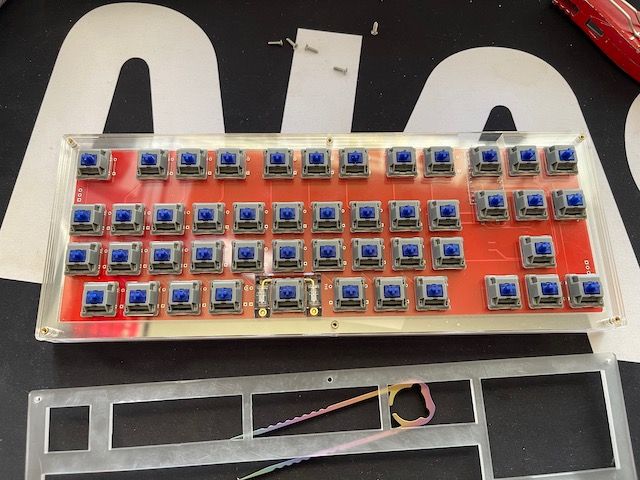
Upon receiving the PCB I realized it supported SMD mount resistors and LED underglow. Some nice touches for what amounts to a meme board.
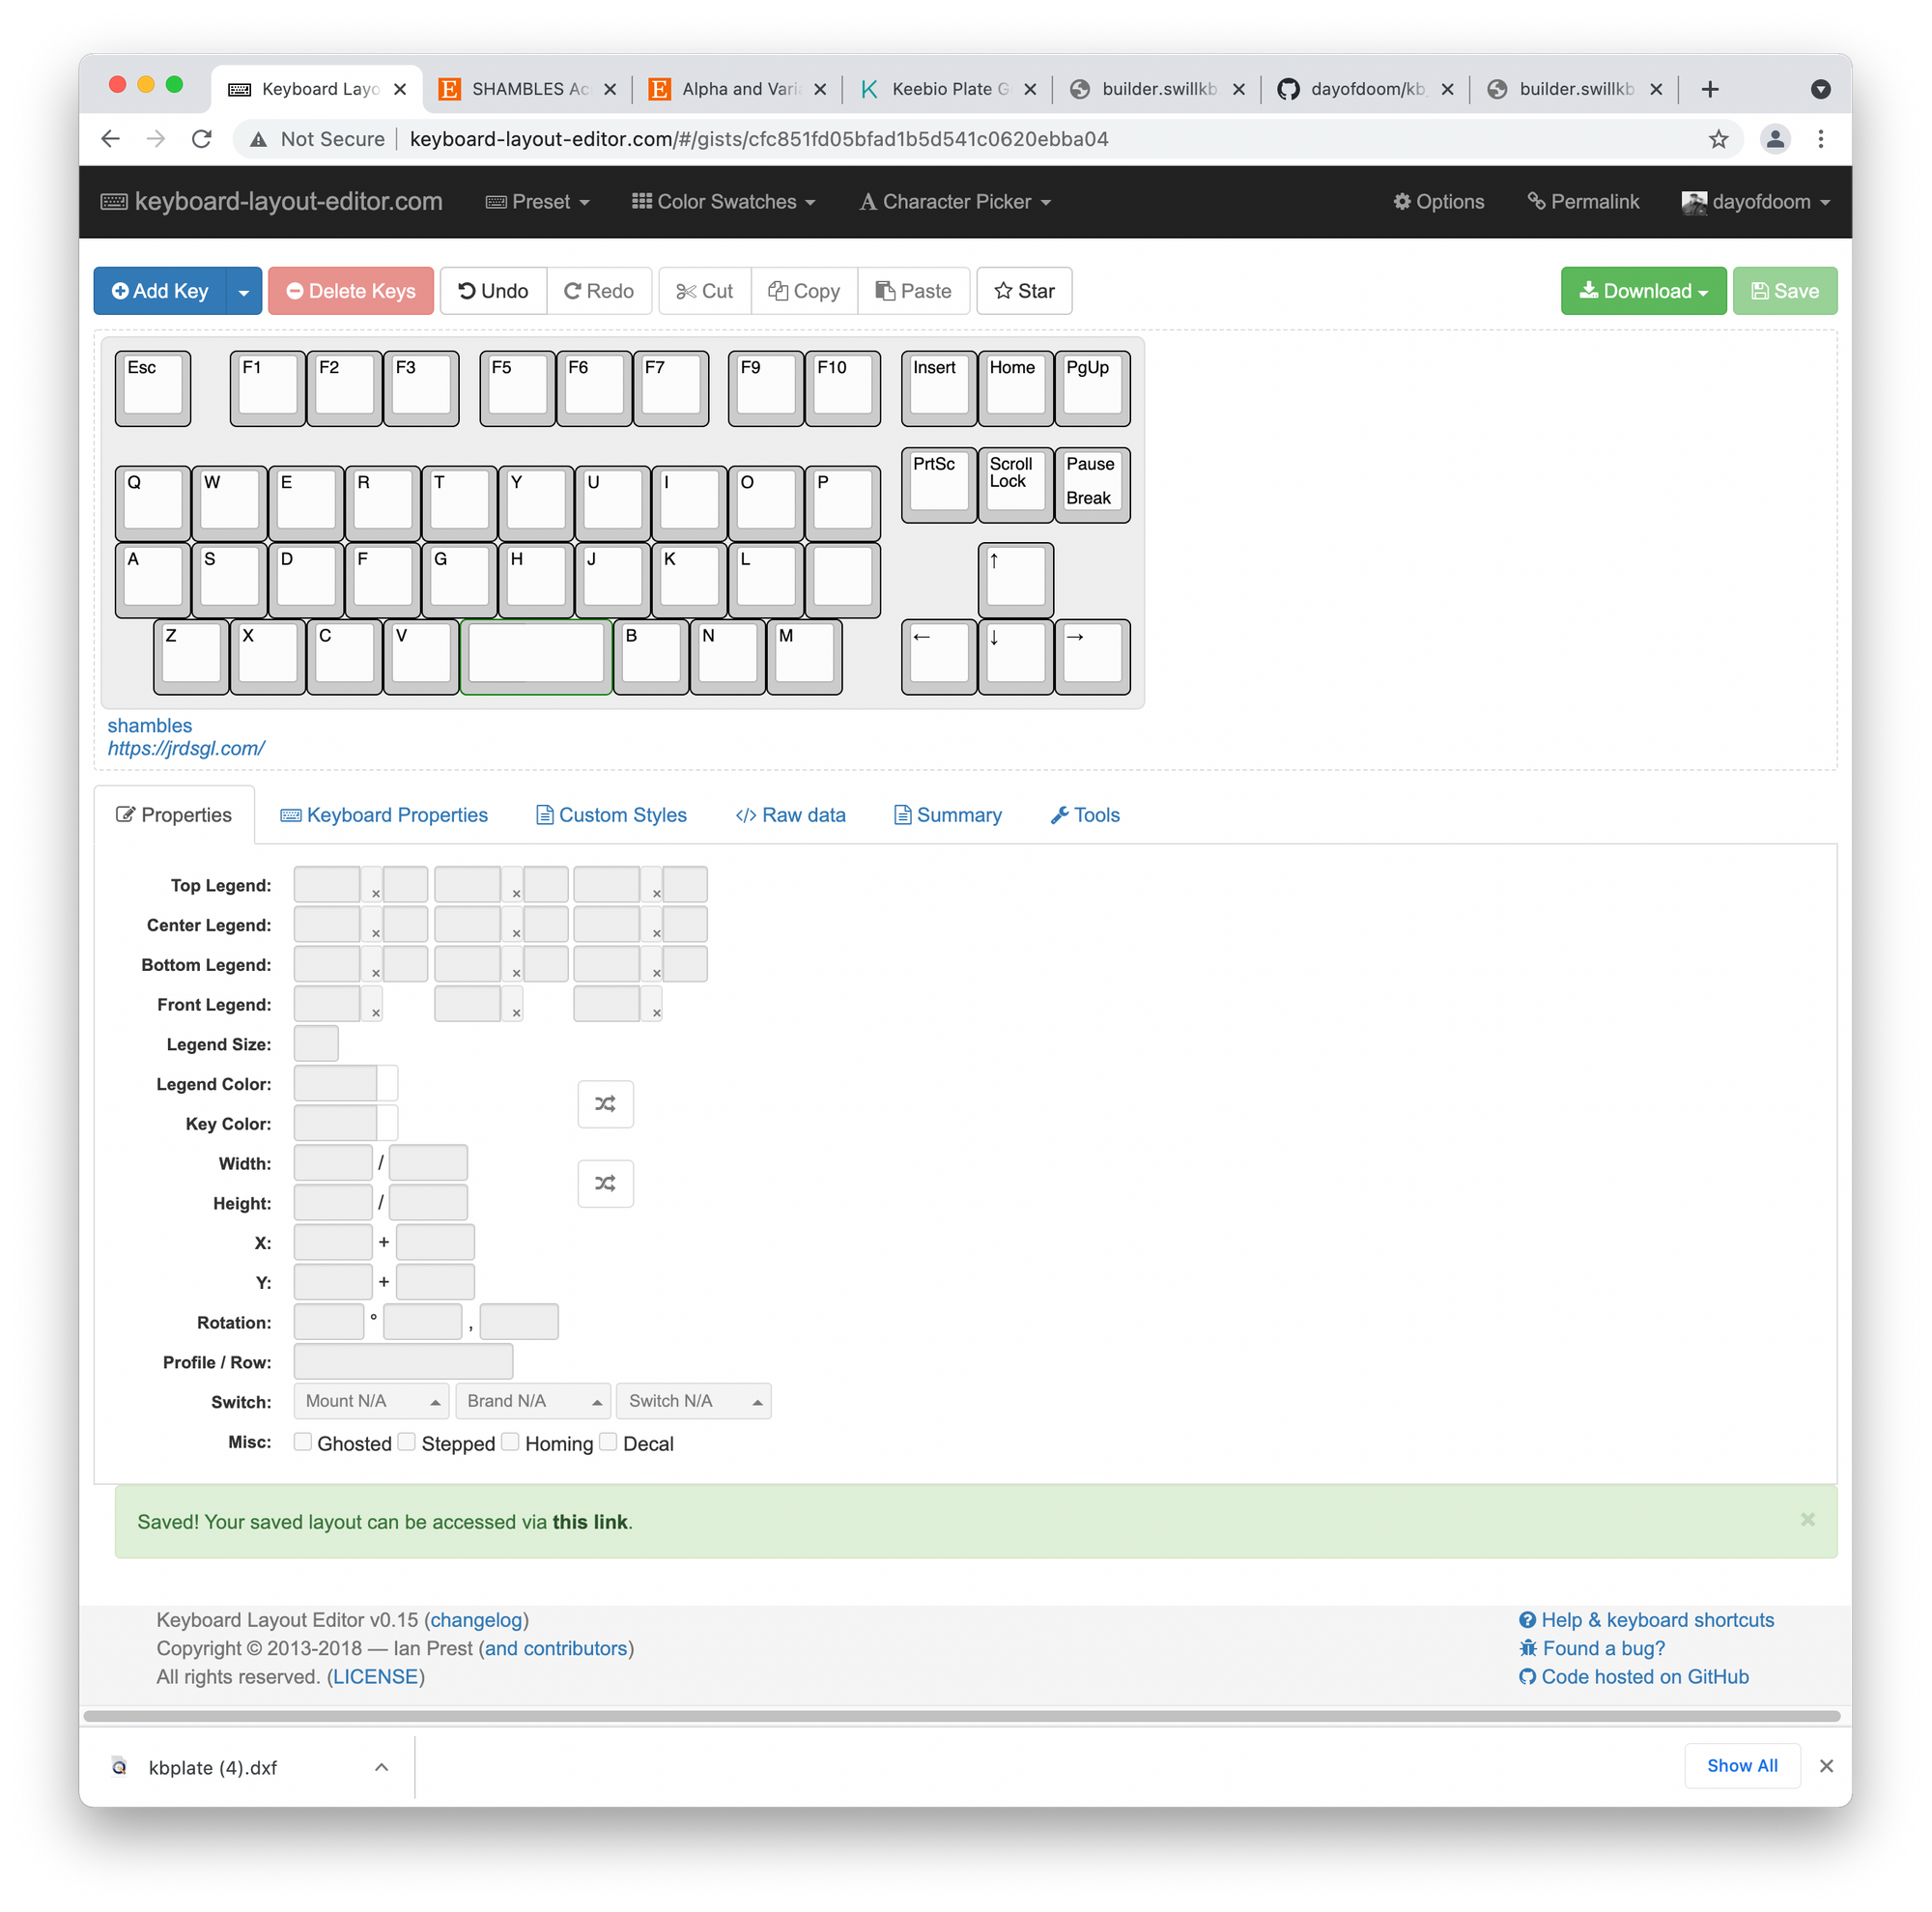
This vendor also sells acrylic cases for the keyboard but I have access to a laser cutter and the internet - no need to spend any more money. I found someone elses completed layout online and recreated that in the KLE.
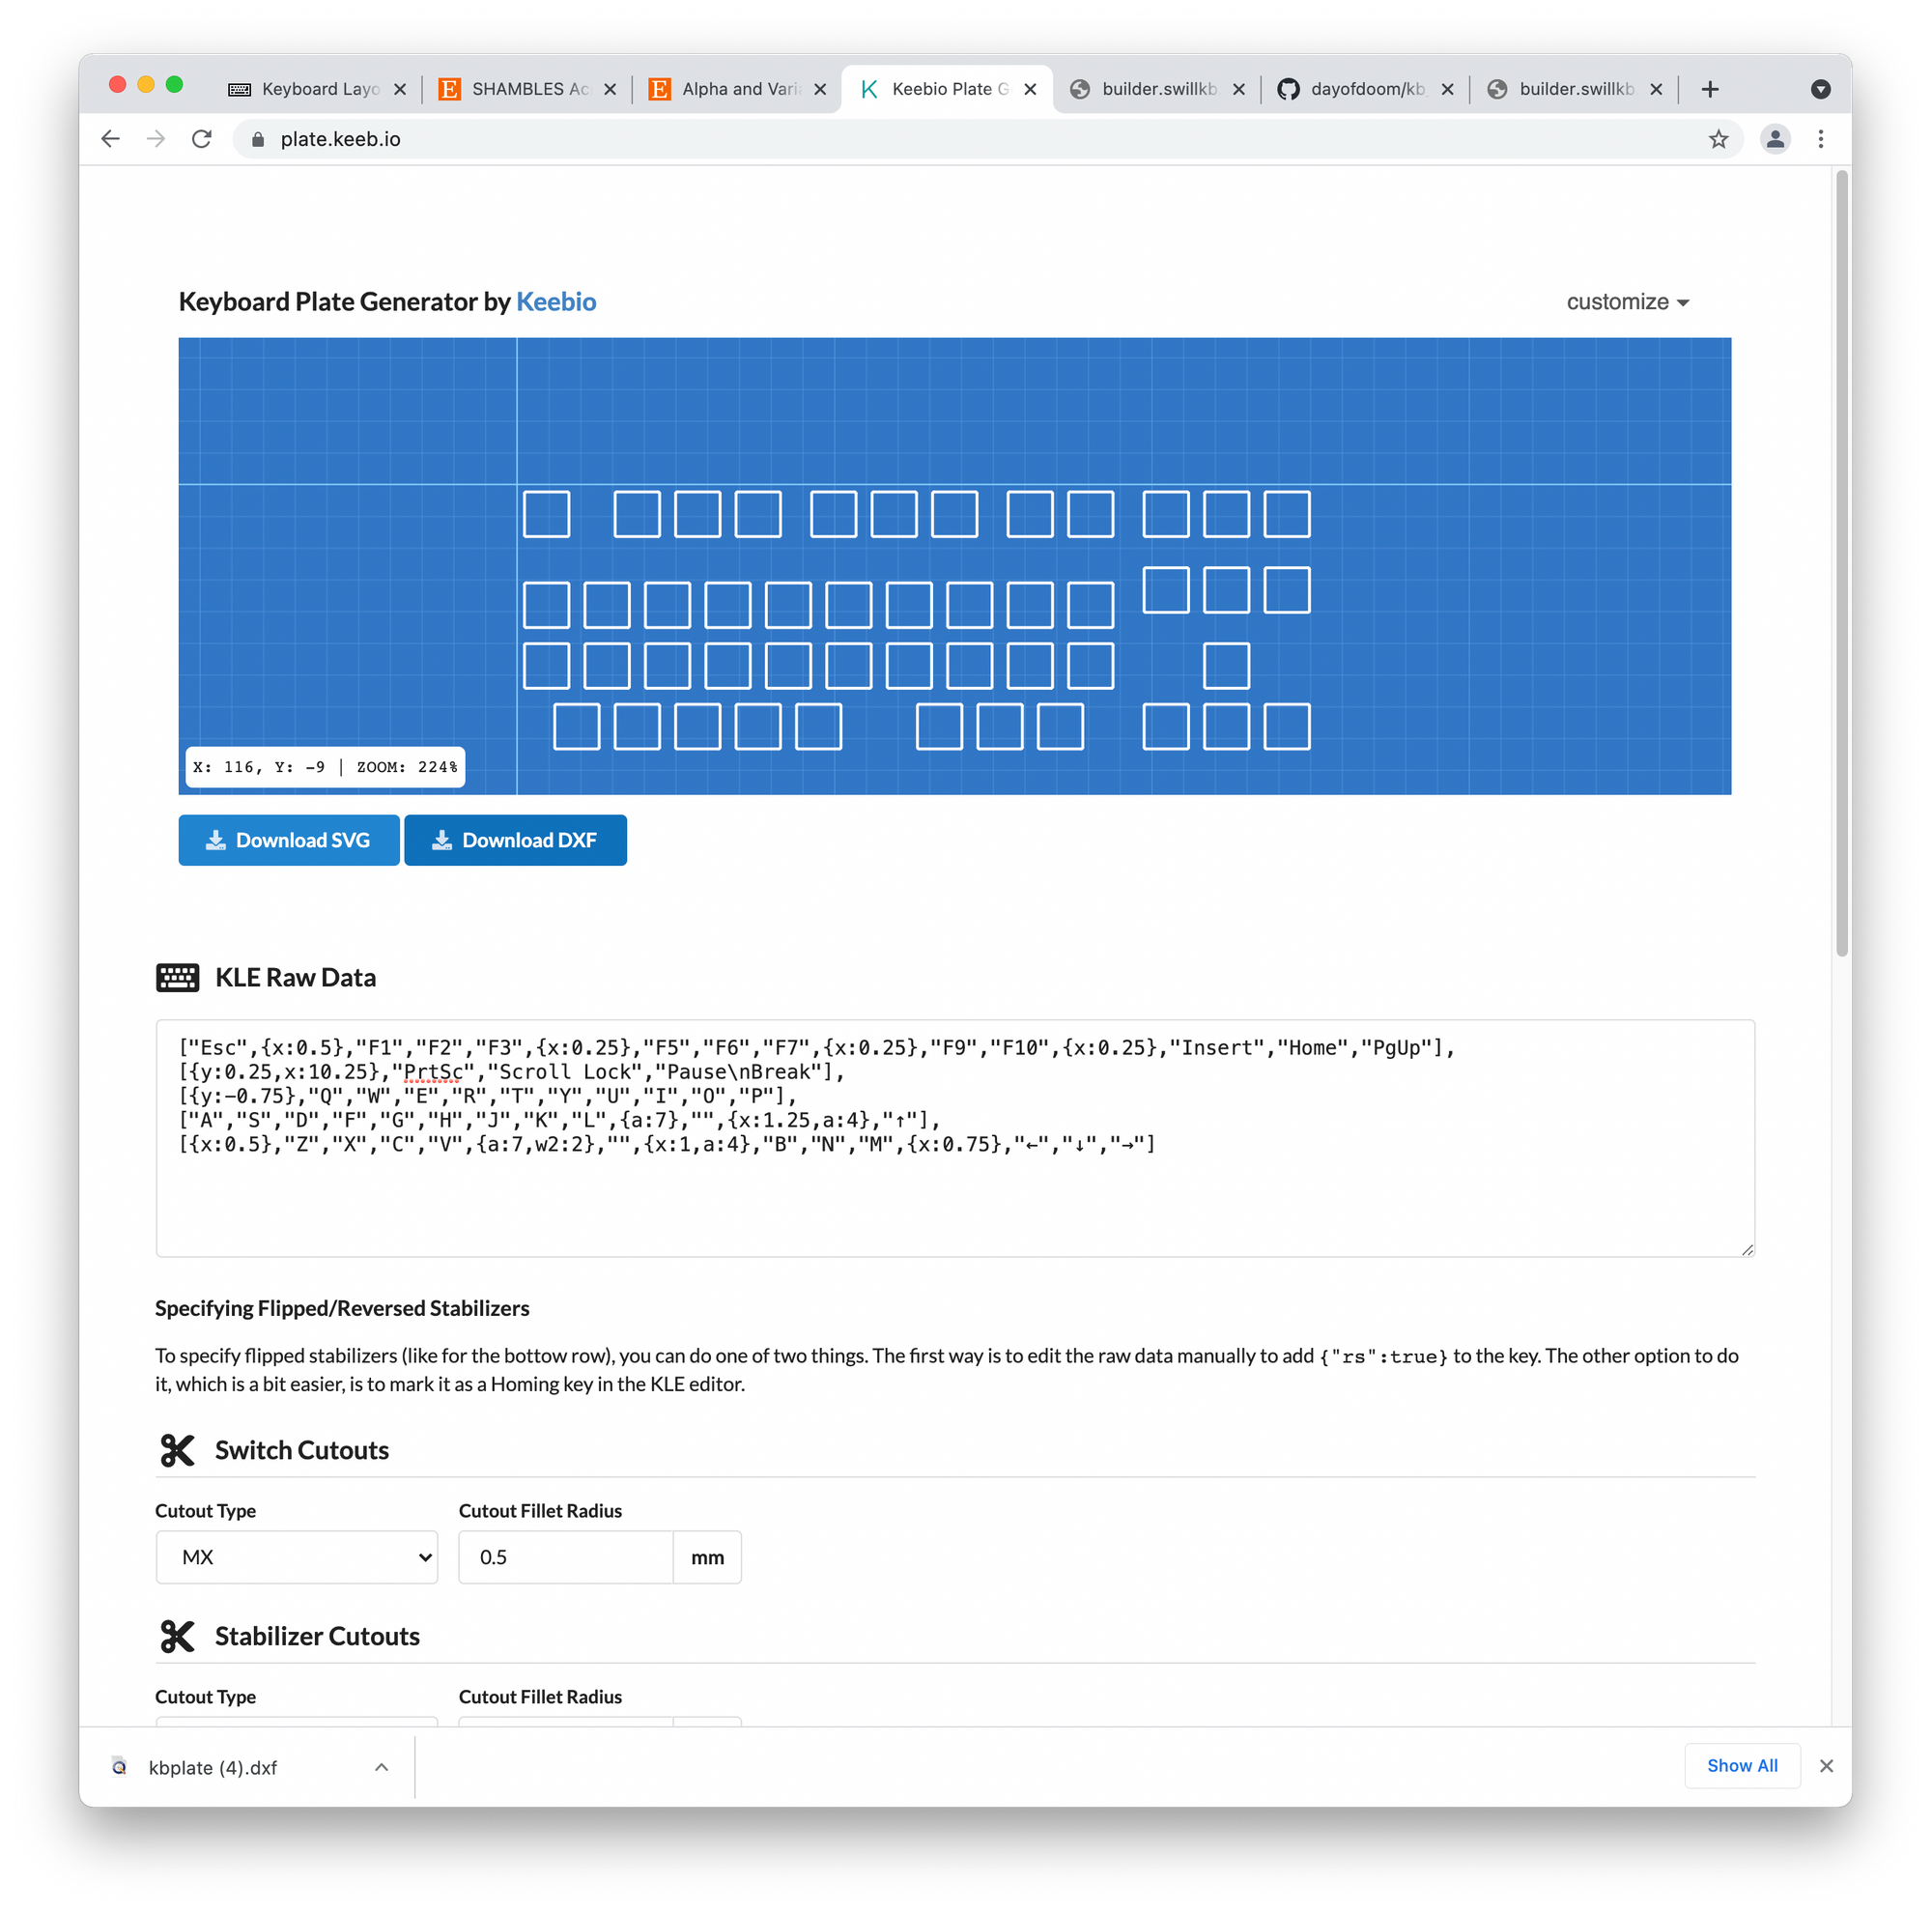
I created a (test) plate using keeb.io's plate generator, which is a great community tool. All you have to do is feed the generator the raw output from the KLE and it spits back the correct switch and stabilizer cutouts.
Looks great except for that missing space key. Maybe it'll render in QCAD? Nope. Maybe I'll catch the error before cutting the acrylic? Nope. Mistakes were made.
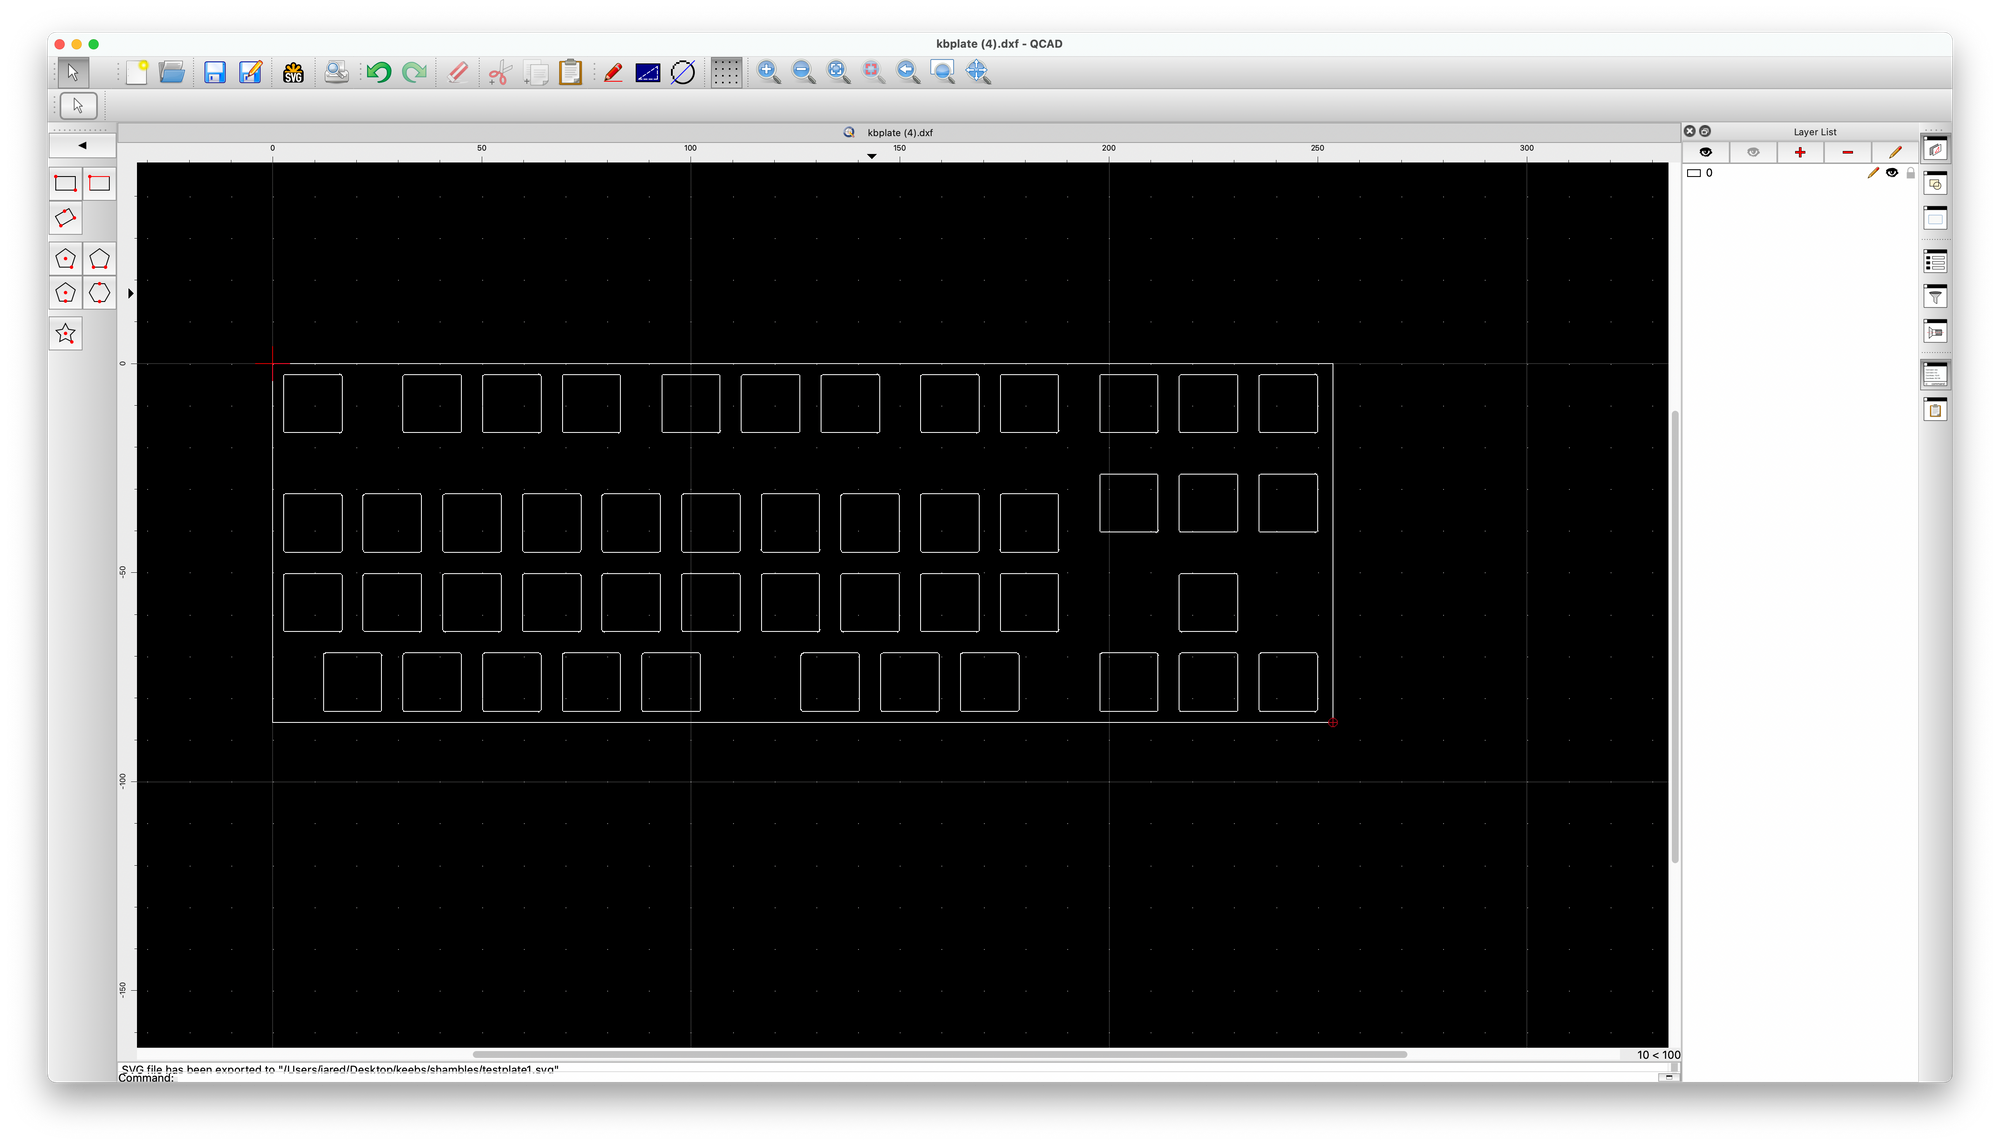
This is the part of the build where things start to go off the rails a bit.
- being too into the design to realize until I'm cutting the acrylic that the key with the stablizer didn't get rendered correctly
- figure out I labeled the key as 1u by accident, fix and regenerated plate
- go to build case at swillkb......... site is down still, no matter how many times I refresh the page
- fuck around with vagrant and docker and get way, way off track trying to get swillkb working locally.
- decide to just wing it in qcad, how hard could it be? what's the worst that could happen? yolo, amirite?
- test cut first case with scrap acrylic
- stabilzer issue - open up the stablizer area so I can swap stabs if needed
Next iteration's notes:
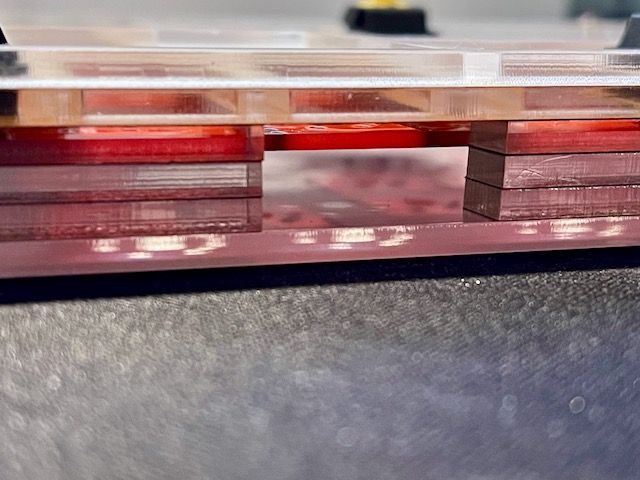
- fucking standoffs are too large or standoff hole is too small, fix all four layers
- realize design is cutting everything to close, things need room to breathe. balancing what's efficient between what's pretty is probably what design is about.
Decide to try to get swillkb working again:
- spin up ec2 instance of swillkb builder - works first try. fmlfmlfml. why did it not work locally? why didn't i do this way first? that's a rabbit hole for another day.
- generate the case file basics, work with them in QCAD and work on the fit and finish
- cut up the case and created the top layer with enough clearance for keycaps to be pushed down without knocking into the acrylic
- add pcb, switches, and keycaps for a test fitting
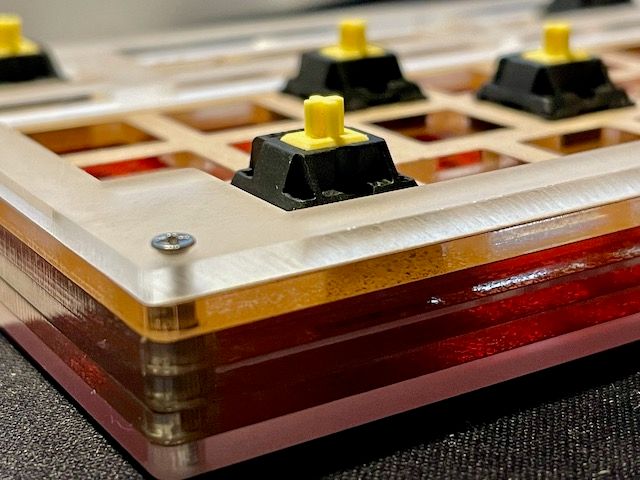
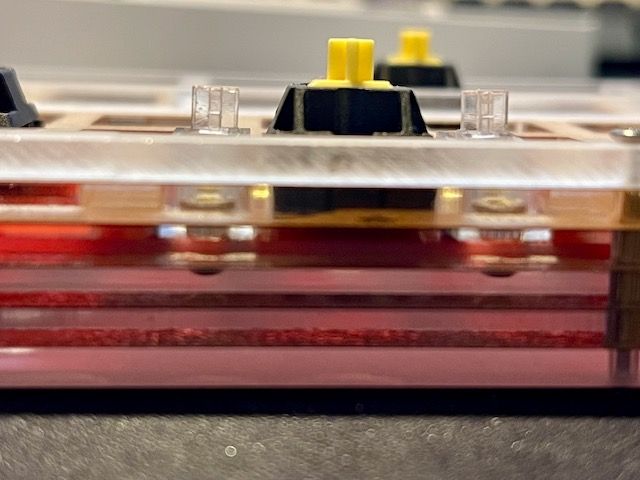

Everything seems good (enough) at this point, time to get building.
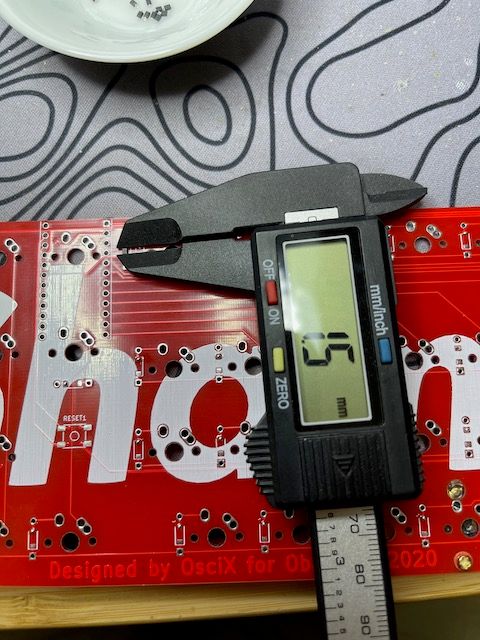
- soldered diodes in place - v small
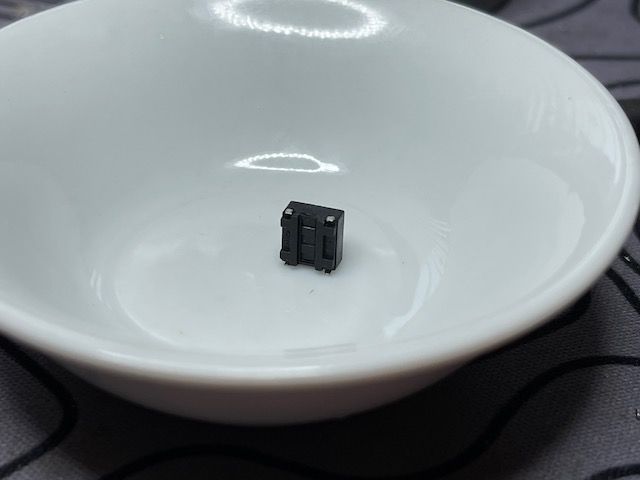
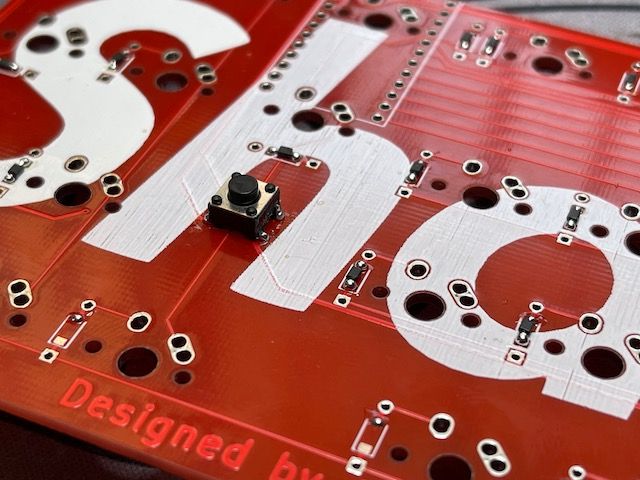
- soldered reset button in - created a smd style mount from a through hole mount style

- soldered pro micro headers in
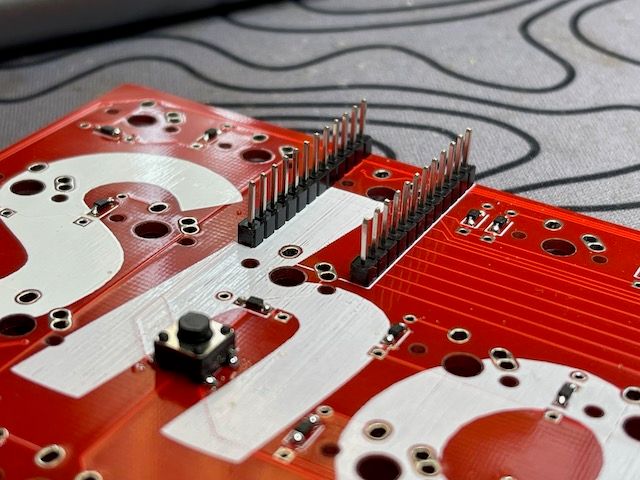
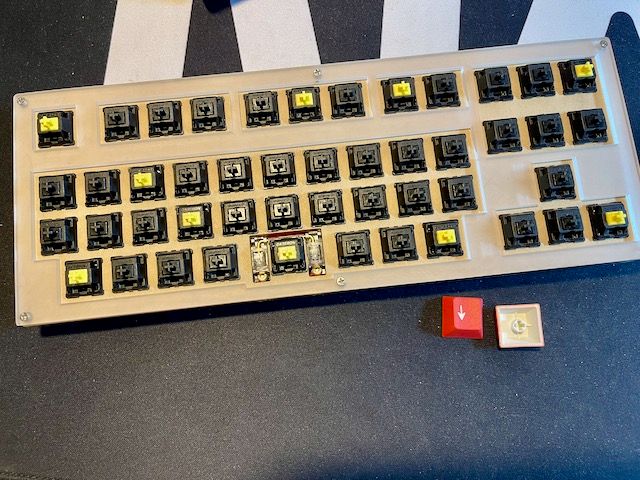
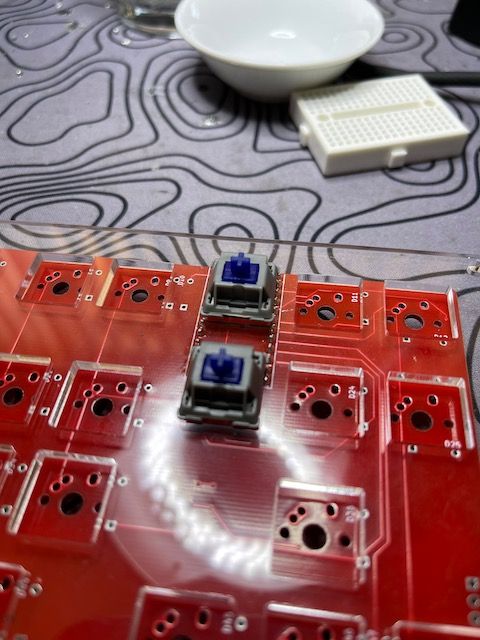
- placed 2 switches in the plate and soldered 'em in. these specific switches rest above the pro micro and need to be soldered before the pro micro can.
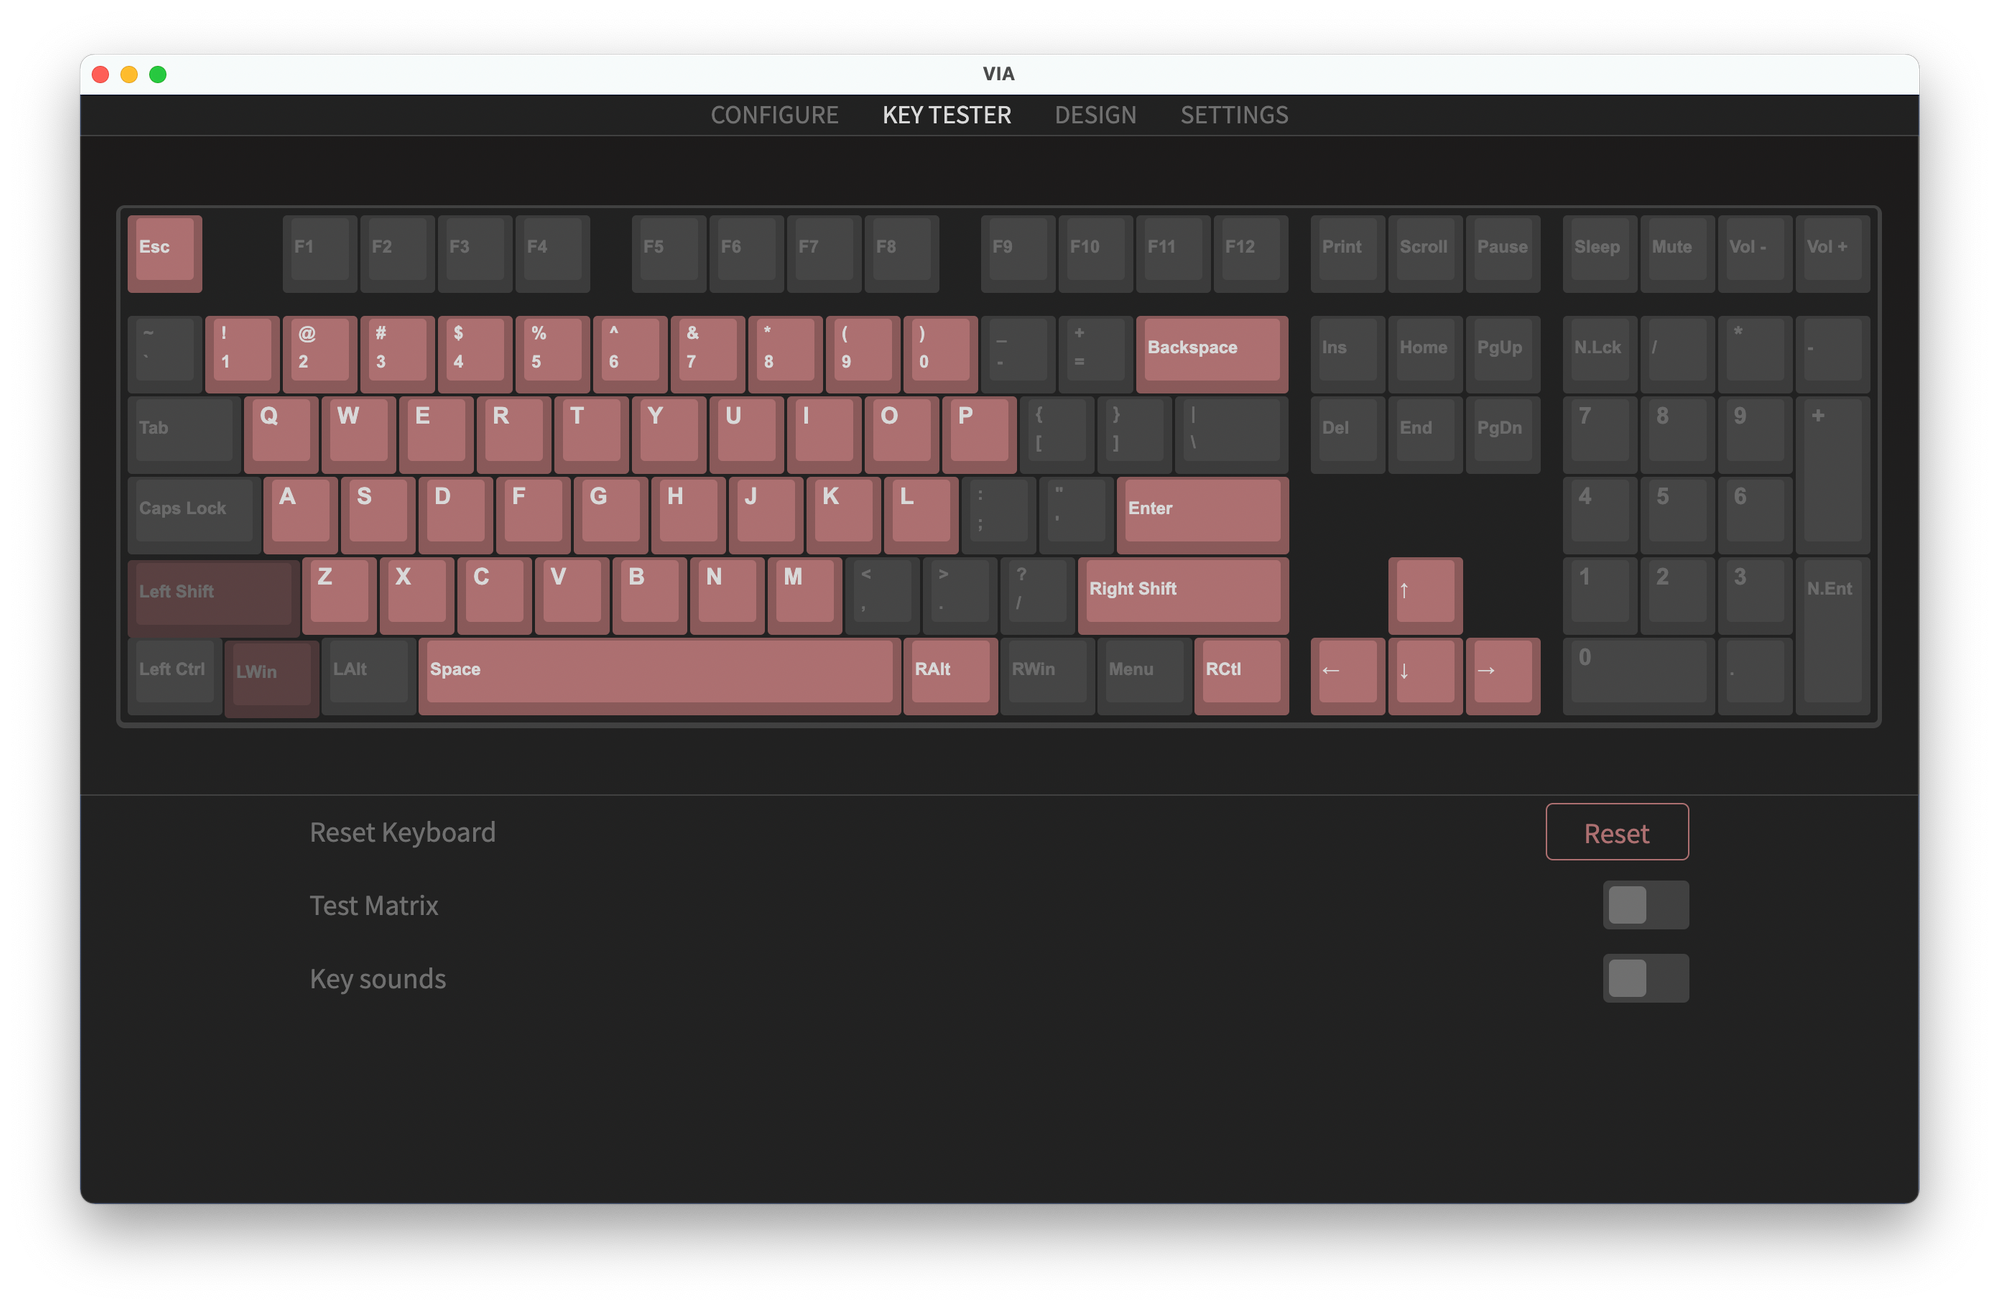
- flashed the pro micro with default firmware from QMK repo, then soldered in place
- tested all keys to confirm diodes were soldered correctly
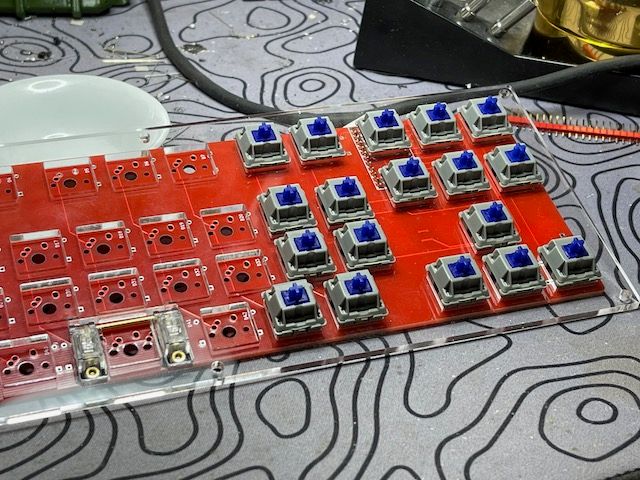
- finish soldering the rest of the switches
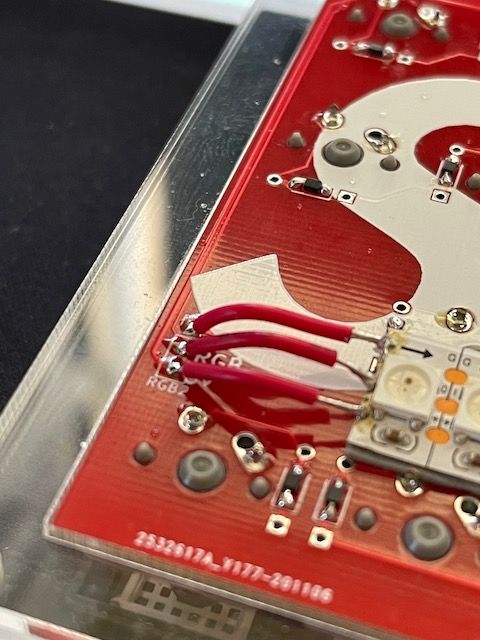
- solder strip of LEDs
- next up, creating custom layout using qmk config gui web tool (tui is more hacker but at this point I don't care)

- imported that layout using qmk
json2ccmd line tool - added RGB pin (Pin D2) to the firmware
- compile firmware and flash
- LEDS WORK!! awwww yiss
So... for all that work... I tried actually using this cursed layout and realized it's never, ever going to happen.